3 Steps to Clean Install macOS from USB Bootable Installer
Quick Navigation:
| Workable Solutions | Step-by-step Troubleshooting |
|---|---|
| 3 Steps to Clean Install macOS |
Step 1. Download macOS...Full steps Step 2. Create the bootable installer after...Full steps Step 3. Install macOS from the bootable...Full steps |
To upgrade and install the latest macOS update on your Mac machine, you can easily get it within the system's Software Update option. That's no problem. But sometimes, we may require a clean install of a macOS version for hardware/software troubleshooting, or to be able to install the same macOS system on multiple devices at the same time. In this regard, you need to install macOS from an external drive or USB.
Some Basics of macOS install from a bootable USB Drive
Installing a Mac operating system in this way can be challenging, as the whole process is involved with the application of Terminal command lines and creating a bootable installer. Nonetheless, we're trying to make the entire procedure simple to follow, and ensuring you not make mistakes. Now let's begin with some of the most frequently asked questions that many users are trying to get an answer.
Q1: Why do you install macOS from USB?
The benefits of installing macOS from USB compared with the automatic software update option include:
- It's for clean install so you can get rid of junk apps and files that are piled up on your Mac.
- It's useful to troubleshoot the Mac startup issues, fix corruption, or recover files.
- It can save time and effort when you need to install macOS on multiple systems and machines.
Q2: How do I create a bootable installer for macOS?
All the available installer can be found on the Mac App Store, including macOS Monterey, macOS Big Sur, macOS Catalina, macOS Mojave, or macOS High Sierra and OS X El Capitan. You need to create the installer using correct Terminal commands for different macOS versions.
Q3: Can I install macOS from USB without the internet?
A bootable installer doesn't download macOS from the internet, but it does require an internet connection to get firmware and other information specific to the Mac model.
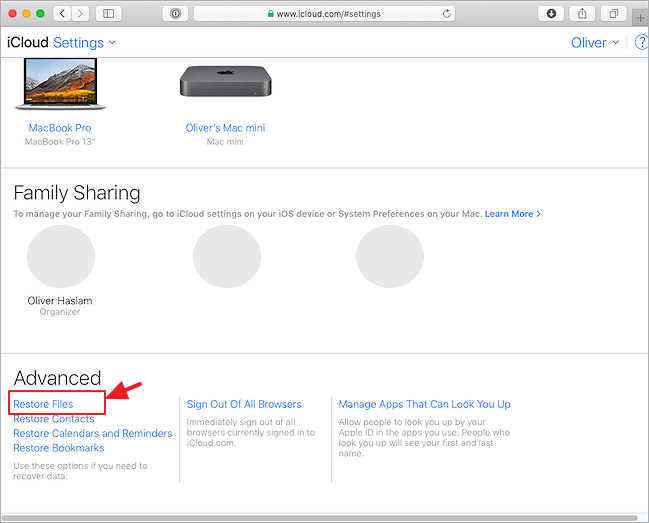
How to Recover Files After Factory Reset Mac?
Reinstalling macOS, Mac OS X, or factory resetting Mac always follows a system crash, computer slowdown, or even when Mac users need to erase their old Mac computer for sale...
Step 1. Download macOS
Click the download link for the desired macOS version you want to install.
Each macOS download is going to send to the Applications folder as an app named Install macOS [version name]. If the installer opens after downloading, quit it without continuing installation. To get the correct installer, download from a Mac that is using macOS Sierra 10.12.5 or later, or El Capitan 10.11.6. Enterprise administrators, please download from Apple, not a locally hosted software-update server.
Pay attention. OS X El Capitan is quite different from the other five. This download is presented in a disk image format named InstallMacOSX.dmg.
Step 2. Create the Bootable Installer After Download
First of all, a vacant 16GB USB drive is essential. If you want to use an old USB drive for installation, make sure that you've copied the data and saved it as a backup. The installer creation process will format and erase all data on the external USB to take effect. Also, the USB drive needs formatting as Mac OS Extended (HFS+).
Connect the external USB drive to your Mac. It'll be used for the bootable installer. Next, we'll arrive the most important part of applying the 'createinstallmedia' command in Terminal to create the bootable installer for the following six operating systems.
- In the Finder, find the Applications/Utilities folder, then double-click Terminal.
- Each macOS installer needs an exclusive command line in the table. We suggest you copy one of the following commands and paste it in Terminal. (You may require to replace MyVolume in all the command lines with the real name of your own USB flash drive.)
Monterey:
sudo /Applications/Install\ macOS\ Monterey.app/Contents/Resources/createinstallmedia --volume /Volumes/MyVolume
Big Sur:
sudo /Applications/Install\ macOS\ Big\ Sur.app/Contents/Resources/createinstallmedia --volume /Volumes/MyVolume
Catalina:
sudo /Applications/Install\ macOS\ Catalina.app/Contents/Resources/createinstallmedia --volume /Volumes/MyVolume
Mojave:
sudo /Applications/Install\ macOS\ Mojave.app/Contents/Resources/createinstallmedia --volume /Volumes/MyVolume
High Sierra:
sudo /Applications/Install\ macOS\ High\ Sierra.app/Contents/Resources/createinstallmedia --volume /Volumes/MyVolume
El Capitan:
sudo /Applications/Install\ OS\ X\ El\ Capitan.app/Contents/Resources/createinstallmedia --volume /Volumes/MyVolume --applicationpath /Applications/Install\ OS\ X\ El\ Capitan.app
After typing the command in Terminal, press Return to enter the command. Afterward, it's time to respond all the confirmation warnings by tying Y, including confirming erasing the USB volume, approving the Terminal to access files on the volume and allowing the copy to proceed.
After all the operations are complete, the USB drive will have the same name as the installer you downloaded such as Install macOS Monterey. Quit Terminal and disconnect the USB drive. You should then move on to the final installation procedure now.
Step 3. Install macOS from the Bootable Installer
To boot Mac from the bootable USB drive, the operation varies from the Intel-based Macs and Apple Silicon-based Macs.
| Intel Macs | Apple Silicon Macs |
|---|---|
|
|
|
|
Closing Words
The three steps to download macOS, create a bootable installer to an external USB and then clean install macOS from USB should be clear and simple to follow. The process requires you to use the Terminal command lines to erase the USB drive, format it with a proper file system, and save the installer to it. Though the chance is little, use Qiling hard drive recovery software to recover files while reinstalling macOS.
Deep Data Recovery for Mac
- Recover lost or deleted files, documents, photos, audio, music, emails effectively
- Recover emptied Trash bin, memory card, flash drive, digital camera, and camcorders
- Support data recovery for sudden deletion, formatting, hard drive corruption, virus attack, system crash under different situations
Related Articles
- Mac is slow! How to fix a Mac running slow, laggy, and freezing a lot
- How Recover Deleted or Unsaved InDesign Files on Mac
- Repair and Recover Your Corrupted SD Card on Mac
- How to Recover Deleted iMessages on Mac with Four Effective Ways