Undo ESD-USB | Convert 32GB ESD-USB Hard Drive/External Hard Drive to Normal
This page covers solutions on how to undo ESD-USB drive and restore your device to full capacity without losing data on Windows 10/8/7/XP/Vista.
Accidentally Converted External Hard Drive to 32GB ESD-USB, Lost data and Partition
"Does someone know how to restore my 32GB ESD-USB 1TB external hard drive to normal?
I mistakenly converted it into an ESD-USB drive while trying to create a Windows media creation tool. Now the drive only has a 32GB partition left, the rest partition and data were all gone."
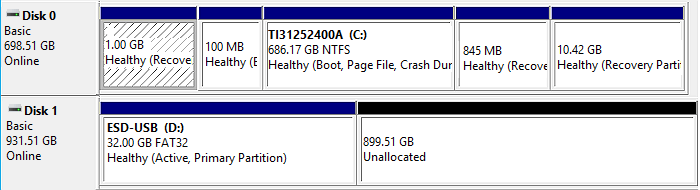
Besides the shown state of ESD-USB drive in the above picture, you may also have experienced the listed symptoms on your hard drive or external hard drive:
- 1. Hard drive or external hard drive shows only 32GB or 31GB in Windows Explorer
- 2. Partitions become unallocated on ESD-USB hard drive or external hard drive
- 3. Saved data get deleted or lost
Don't worry if you are having the same issue. Read on, and you'll learn how to restore lost data and undo the ESD-USB drive on your own in the following two parts.
- Notice:
- If you lost valuable data on your hard drive or external hard drive, move to Part 1. You can apply the provided methods there to bring your lost files back immediately.
- If you want to immediately convert your ESD-USB hard drive or external hard drive to normal, follow solutions in Part 2 for help.
Part 1. Restore Valuable Lost Files
When you happen to create the Windows Media Installation Tool on the wrong drive, you will lose all partitions and data with only a 32GB ESD-USB partition left. The urgent task is to bring the lost files back when your storage device turned into ESD-USB drive.
To do so, you'll need to delete the ESD-USB partition first and then apply file recovery software to scan and restore all lost files. Go through this part and learn how to bring all your lost data back as soon as possible.
1. Delete Existing ESD-USB Partition
As you know that the existing ESD-USB partition only contains some Windows installation files, which are not what you want. As a result, deleting the existing 32GB partition won't cause an actual data loss on your drive.
Also, to prevent the restored data unopenable issue from happening, Qiling data recovery experts suggest you delete the ESD-USB partition and use file recovery software to scan the whole hard drive.
Therefore, to guarantee the restored data available and reusable, follow the steps below to delete the existing partition:
Step 1. Connect your external hard drive to PC and open Disk Management.
Step 2. Locate and right-click on the ESD-USB 32GB partition on your device, select "Delete Volume".

Step 3. Click "OK" to confirm.
2. Restore All Lost Drive Files with Qiling File Recovery Software
A practical and secure method is to restore all lost files from the ESD-USB device with a reliable file recovery software.
You can either search online to find such a tool or directly download Qiling file recovery software - Data Recovery Wizard for help.
Deep Data Recovery can thoroughly scan all existing and lost files from the ESD-USB drive and restore everything on the device in only three steps.
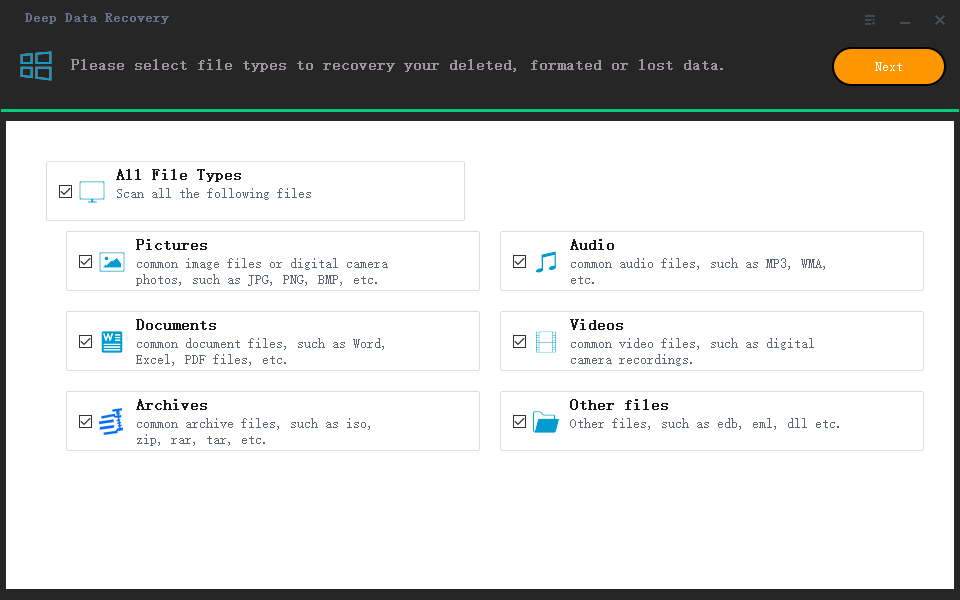
Step 1. Select file types
Launch Deep Data Recovery. Select file types and click "Next" to start.
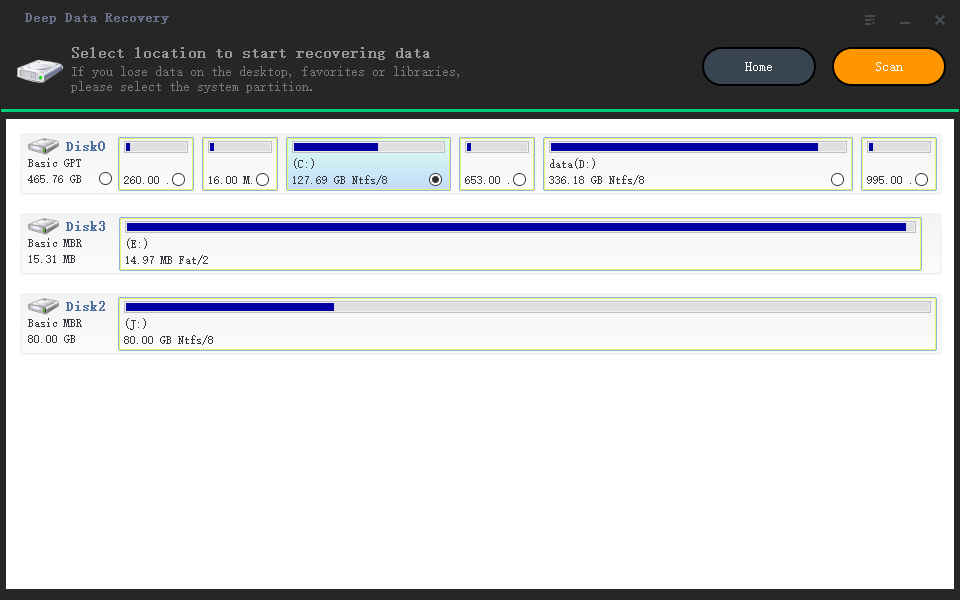
Step 2. Select a drive and start scanning
Hover over the partition where you lost data. This could be an internal hard disk, external disk, USB, or SD card. Then, click "Scan".
Step 3. Check and preview scanned files
Use the file format filter on the left or upper right corner to narrow the scan results until you find the files you need. Then, you can click the "Preview" button or double-click a file to preview its content, if you'd like.
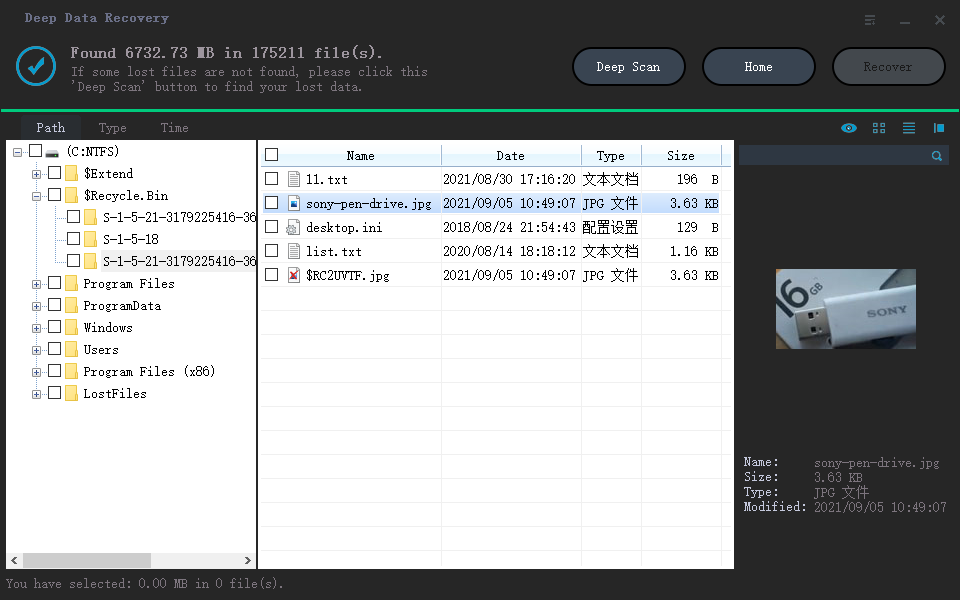
Step 4. Recover lost data to a secure location
Click the checkbox next to the file and click "Recover" to restore the lost data to a secure place. We recommend that you do not store the recovered data on the disk where you lost it earlier.
- Warning
- Don't save the recovered files to the current hard drive or external hard drive before making it usable again.
- In the next part, you will see the complete solutions of restoring ESD-USB hard drive or external hard drive to full capacity.
Part 2. Undo ESD-USB, Restore Hard Drive/External Hard Drive to Full Capacity
IMPORTANT: If you directly jump to this part, please delete the existing ESD-USB partition on your device first by using Disk Management.
After following Part 1, the ESD-USB partition is no longer on your hard drive or external hard drive. The device now should be an unallocated drive.
Therefore, you can create a new partition on the device to undo ESD-USB. By doing so, you will be able to restore your HDD or external hard drive to full capacity:
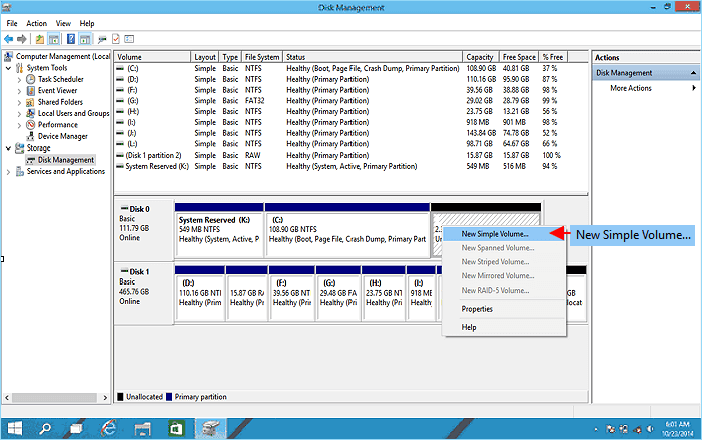
Step 1. Enter Disk Management and right-click on the unallocated space, select "New Simple Volume".
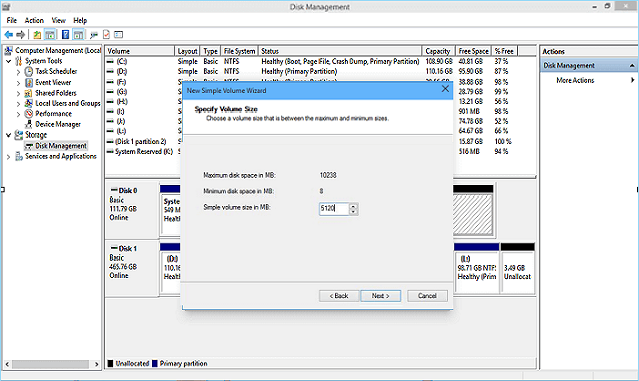
Step 2. Enter the New Simple Volume Wizard, click "Next" to continue.
Step 3. Set the new partition size, file system - NTFS, and partition label on your hard drive or external hard drive.
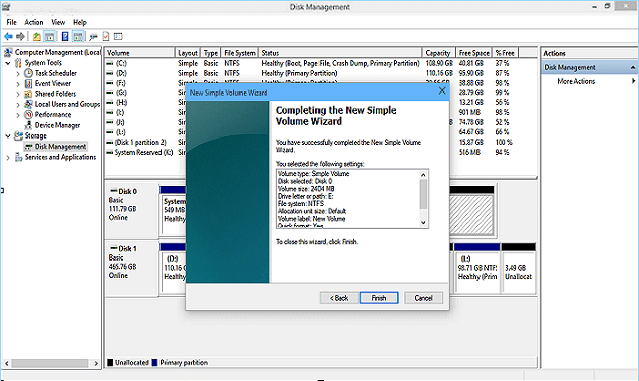
Step 4. When you finish all the settings, click "Finish" to complete the process.
Note: If you need to create more than one partitions on your hard drive, remember that you need to allocate the unused space properly and repeat the process once again.
After this, you can reuse your hard drive or external hard drive to store relevant data and files again.
However, this is not the end yet. Besides, knowing the ways of protecting your data and preventing hard drive or external hard drive from being converted to ESD-USB mistakenly. In the next part, some reliable tips will assist you in resolving this issue with ease.
Part 3. Bonus Tips to Protect HDD/External Hard Drive with Data
Knowing the ways of protecting your data and external or internal hard drive will be highly helpful, especially in the prevention of data loss.
Here are some reliable tips for you to apply and take action to protect your valuable files and storage device immediately:
1. Create Data Backup and Save to Anther Device or Cloud Drive
It's always a good habit of creating a full backup of your valuable files, data to another hard drive or external storage device. When data get lost on your device, you can always bring them back from the backup.
A time-saving and effective method is to apply reliable file backup software for help. Qiling Backup can back up files, hard disk partition, and even Windows OS to another hard drive, external storage device, or even cloud drive for you in 3 simple steps.
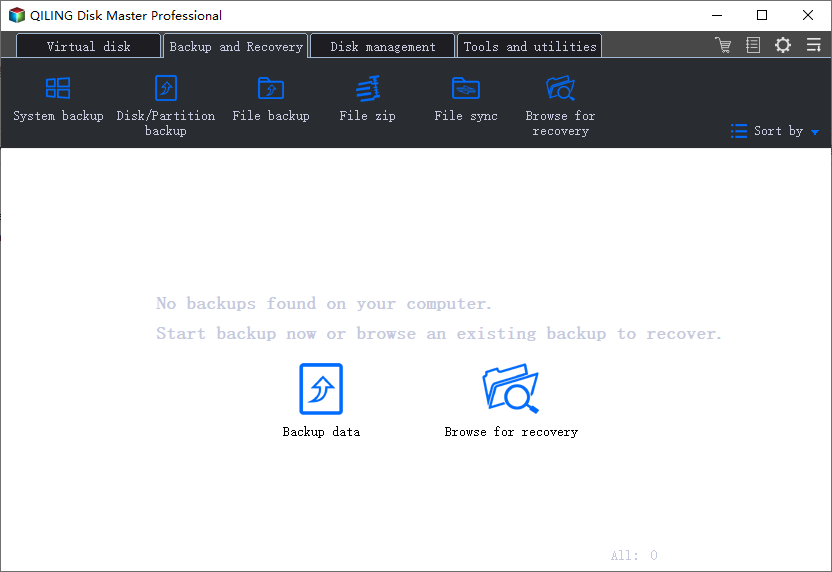
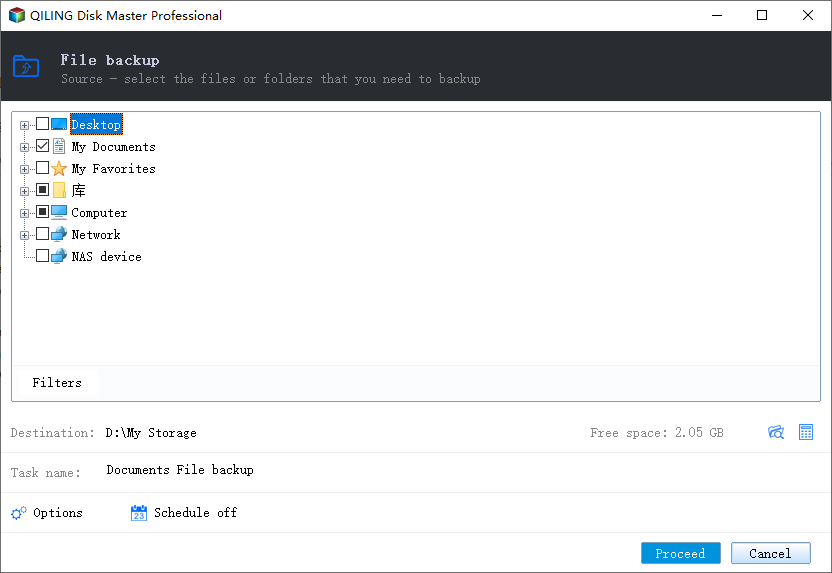
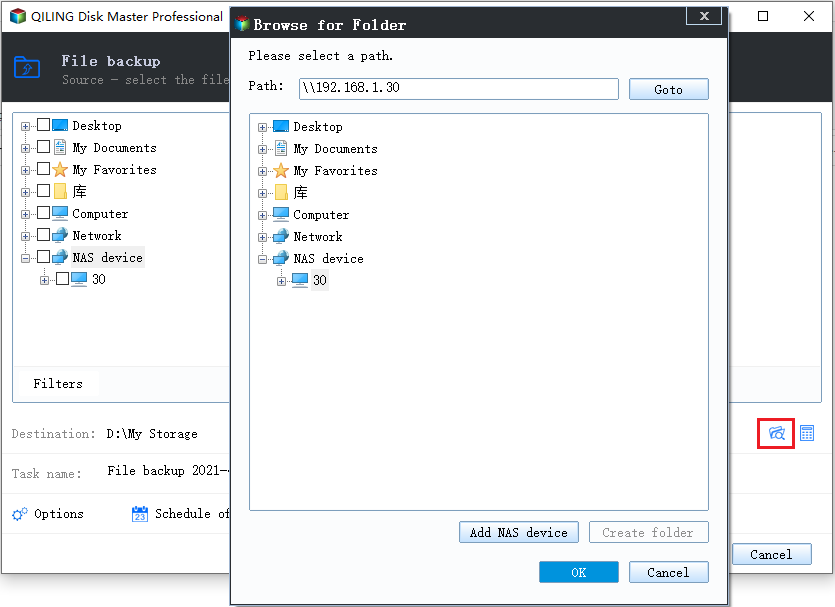
Step 1. Click "File backup" button in the Backup and recovery page to initiate a backup.
Step 2. Local and network files will be displayed on the left side. You may extend the directory to choose which files to back up.
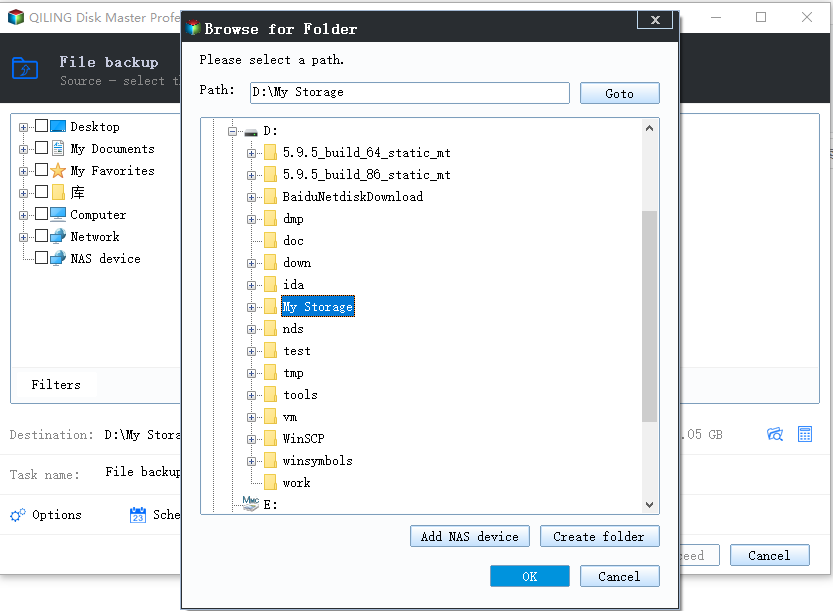
Step 3. Select the location where you want to store the backup by following the on-screen instructions.
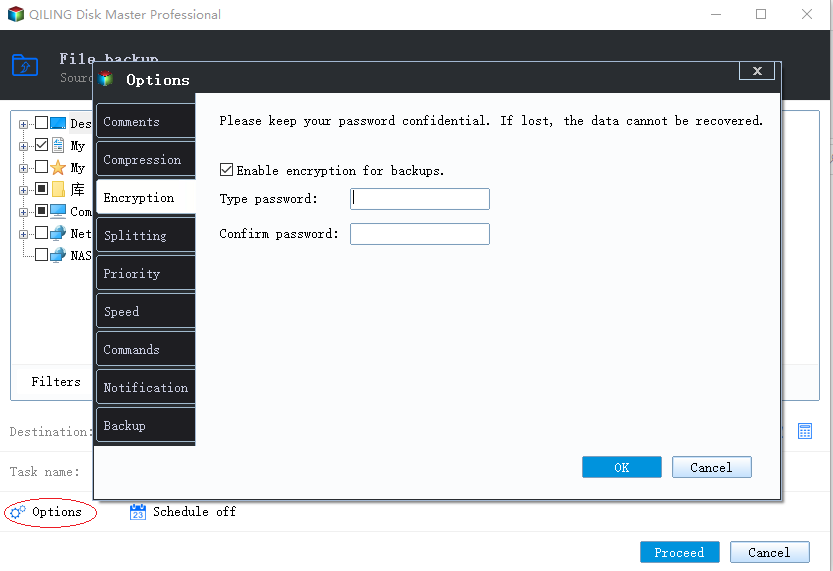
Step 4. Click "Options" to encrypt the backup with a password in "Backup Options". There are a variety of other customization options available for the backup process.
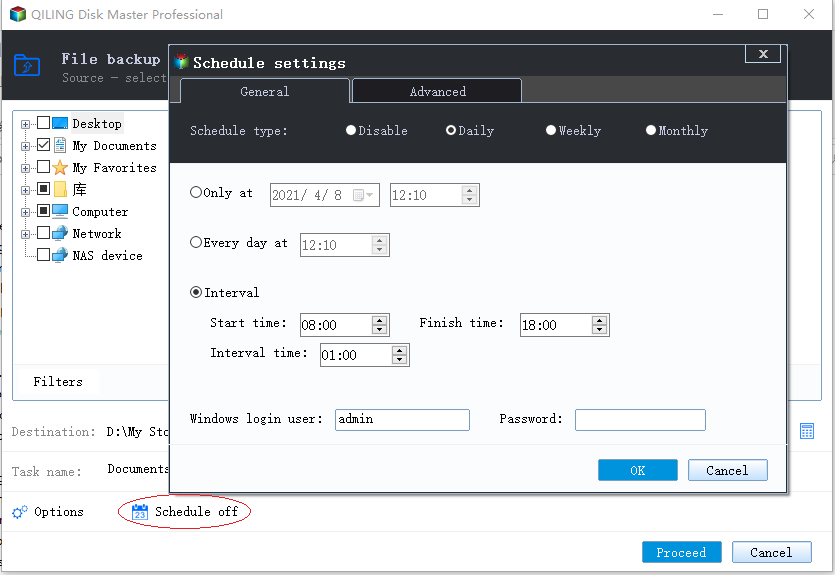
Setup a backup schedule and choose to initiate a backup at a certain event in "Backup Scheme".
Step 5. You may save the backup to a local disk, Qiling' online service, or a NAS.
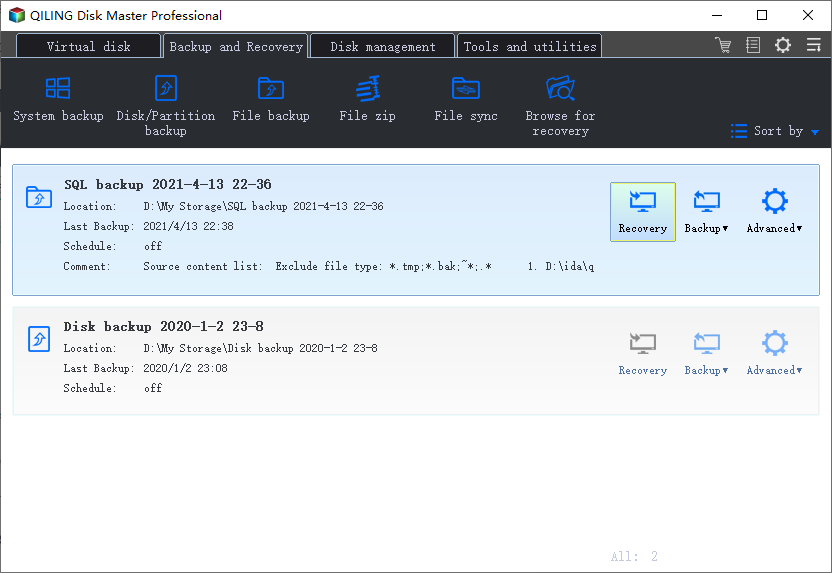
Step 6. To begin backup, click "Proceed" Once the backup process has been finished, it will be shown as a card on the panel's left side. To further manage a backup job, right-click it.
2. Run Antivirus Software to Clear Virus, Malware, etc. Regularly
You should also apply antivirus software for help. With reliable antivirus software, you can clear and remove the existing or hibernating virus, malware, etc., from your hard drive or external storage devices.
Turning on Microsoft Defender is relatively not enough and here is a list of reliable antivirus software for you to try:
- Norton Security 360/Norton Antivirus Plus
- McAfee
- AVG
- Avira
- Avast
- Malwarebytes
- Kaspersky Anti-Virus
No matter which software you decide to use, once you finish the installation, run the software immediately. It will thoroughly scan your computer, external storage devices, and remove all potential virus.
3. Encrypt and Lock Hard Drive/External Hard Drive with Password
Another way to keep your device and data safe is to encrypt or lock your hard drive, external hard drive with a password.
If you are a Windows 10/8/7 user, you can enable BitLocker on your device with the below steps:
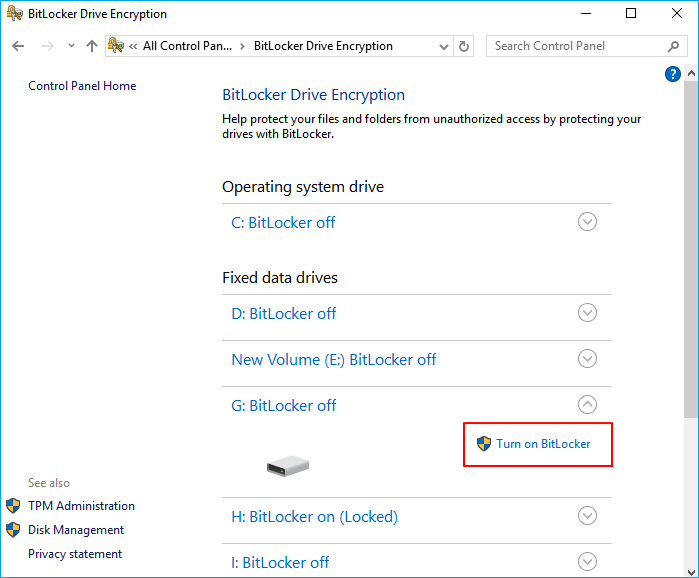
Step 1. Open Control Panel and click "BitLocker Drive Encryption".
Step 2. Locate and expand the drive or external hard drive that you want to lock, and select "Turn on BitLocker".
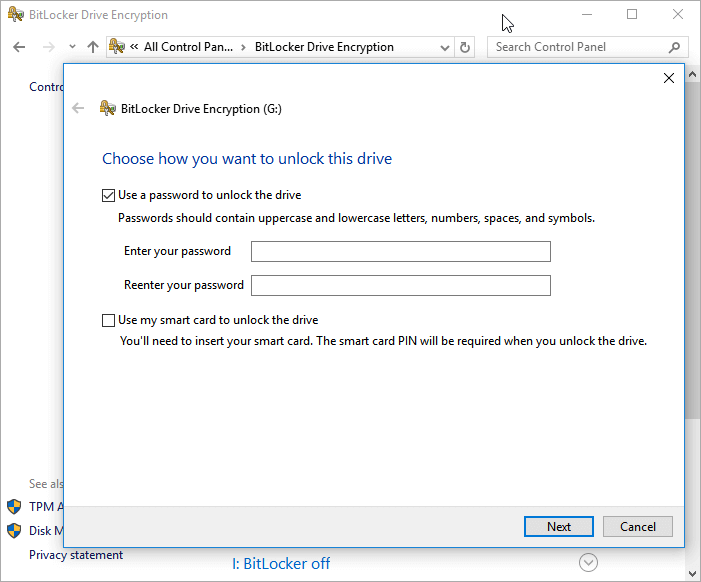
Step 3. Set a password to lock the selected hard drive or external hard drive and click "Next" to continue.
Step 4. Select a way to save your password to your Microsoft account, to a USB drive, to a file or print the recovery key and click "Next" to confirm.
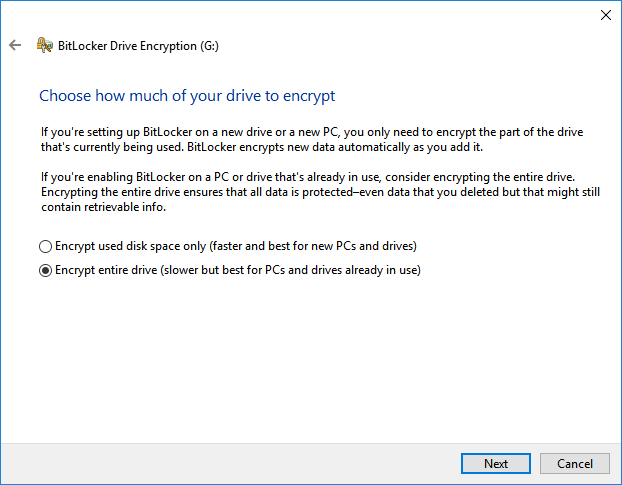
Step 5. Choose how much you of your drive to encrypt and click "Next" to continue -
- Encrypt used disk space only (faster and best for new PCs and drives)
- Encrypt entire drive (slower but best for PCs and drives already in use).
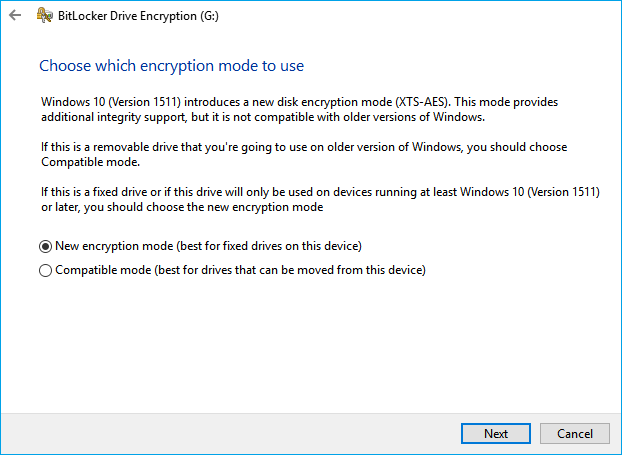
Step 6. Choose which encryption mode to use and click "Next" to continue -
- New encryption mode (best for fixed drives on this device)
- Compatible mode (best for drives that can be moved from this device).
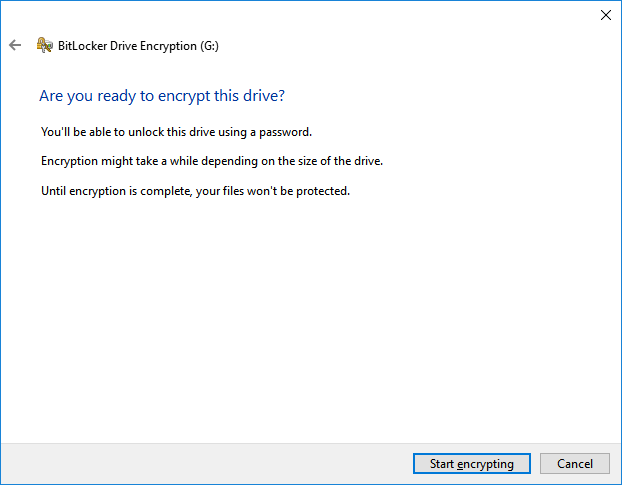
Step 7. Click "Start encrypting" and wait for the process to finish.
Besides, some reliable programs can lock and encrypt your drive with a password. By doing so, no one can directly access your data, hard drive, or external hard drive without a password.
- Tip
- When you need to access and use your files on the locked hard drive or external hard drive, here is how to unlock the device:
- 1. Keep your hard drive or external hard drive connected to your PC.
- 2. Double-click on your drive and enter the password which you've set for the BitLocker encryption.
- 3. After this, you can open your device and use the data securely again.
The Bottom Line
On this page, we've provided you with complete solutions in Part 1 and Part 2. By using data recovery software first and create new partitions next, you can revert the ESD-USB drive to normal without data loss.
By applying the provided tips in Part 3, you will also gain a complete plan to protect your data from being overwritten or prevent storage devices from being converted to ESD-USB by mistake.
Related Articles
- You Want to Perform SWF File Recovery? Got it
- Unlimited Data Recovery Software Free Download Full Version [2022]
- Free Download Transcend JetFlash Online Recovery Tool
- Run Deep Data Recovery from WinPE Bootable Disk