Fix Kernel Security Check Failure in Windows 10/8/7 [2021]
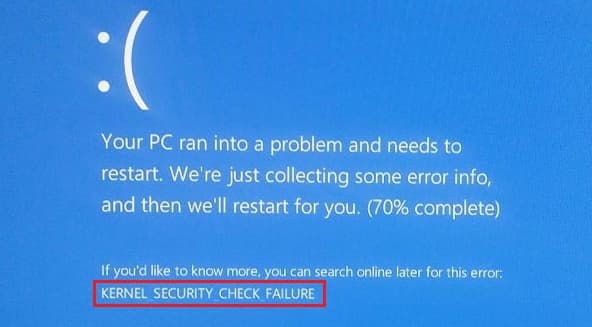
Windows blue screen KERNEL_SECURITY_CHECK_FAILURE is a typical bug check that arises when the system data of your computer becomes corrupt or the memory or driver software becomes incompatible with your system. A blue screen appears while booting the Windows operating system, which is called the Blue Screen of Death (BSOD). In this situation, you will see a particular stop code KERNEL_SECURITY_CHECK_FAILURE. If you are also facing the same issue, read along to know about some quick fixes to Kernel Security Check Failure in Windows 10, 8, and 7.
Part 1. The Possible Reasons Cause Windows Blue Screen Kernel Security Check Failure
Though resolving this issue is not a bed of thorns, people think it's tough to fix the bug. As to cure an issue, you must reach the roots of the problem; likewise, to know the solution, you first need to understand the possible reasons for the blue screen kernel security check failure, which are listed below:
- Incompatible drivers
- The installed software conflicts
- Viruses
- A damaged or corrupted hard disk
- Corrupt Windows system files
- Security programs
- System memory problems
Part 2. 4 Ways to Fix Windows Blue Screen Kernel_security_check_failure
Now that the possible reasons for the issue are revealed to you, let's learn 4 ways to fix kernel security check failure.
Method #1: Check Your Computer for Memory Problems with Windows Memory Diagnostic
As mentioned above, memory problems can be a possible reason that could cause kernel security check failure in Windows 10/8/7. Now, you must be thinking that how will you identify that the bug check is caused due to memory problems. Well, Windows operating systems come with a built-in memory diagnostic tool This tool can make it easier to identify if this is due to memory problems or not.
Follow this step-by-step process to run the memory diagnostics tool in Windows 10/8/7 to fix kernel security check failure:
Step 1: Launch the memory diagnostic Tool
Click the Windows key to open the Windows search box. Now, type memory or matched in the search box and hit Enter. Click on Windows Memory Diagnostic to run the tool.

Step 2: Diagnose the Problem with the Help of the Tool
In the Windows Memory Diagnostic Tool, you will see two options to check for the problem. Choose any of the two options. After you run the tool, you just need to follow the prompts.
If the tool diagnoses a memory problem, then you just need to change the memory card of your system and the error windows 8 kernel security check failure will be resolved.
This method applies to Windows 10/8/7 OS.
Method #2: Check and Fix Hard Drive Errors with CHKDSK utility
A damaged or corrupted hard disk can be another possible reason for kernel security check failure. To verify if this is the reason, you need to scan your hard disk.
Follow this step-by-step process to scan the hard drive in Windows 10/8/7 to fix kernel security check failure:
Step 1: Launch the Check Disk Utility (CHKDSK) program
Click the Windows key to open the Windows search box. Now, type chkdsk in the search box and hit enter.

In case, you want to scan a particular drive, you need to open the run command with the help of Windows+r keys. Type cmd in the run command box and hit enter to open the command prompt.
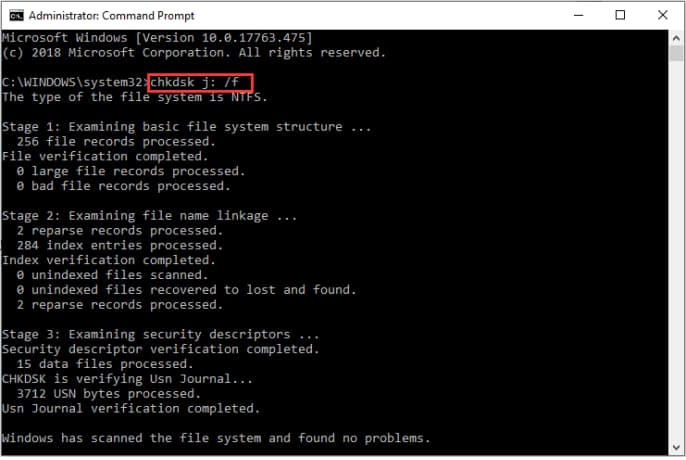
Now, type CHKDSK *: /f (put the drive letter instead of *) and hit Enter.
Step 2: Scan the Hard Drive in CMD
The scanning will be automatically started. After the scanning is complete, type exit and hit enter to close the command prompt.
Note: If you will scan C drive or the complete hard disk by opening the Check Disk Utility program, make sure that you save and close all the sheets and docs. that are opened in your computer, as your computer will be restarted automatically after the scanning is complete.
Method#3: Boot Windows in Safe Mode
If you have corrupted Windows system files or outdated/incompatible drivers, you may find difficulty in booting your Windows 10 or upgrading your Windows 7 to Windows 8 or Windows 10. Your system may throw windows 8 blue screen kernel security check error in this case. You need to Boot Windows in safe mode at this point.
Though you will get to read different ways to restart your PC in safe mode for different Windows OS, I will reveal you a common technique to restart your PC in safe mode no matter whether your PC has Windows 7, 8, or 10 OS. This way will work perfectly fine with all the Windows OS versions.
Follow the below step-by-step process to know how to boot windows in safe mode:
Step 1: Open System Configuration and Opt for Safe Boot
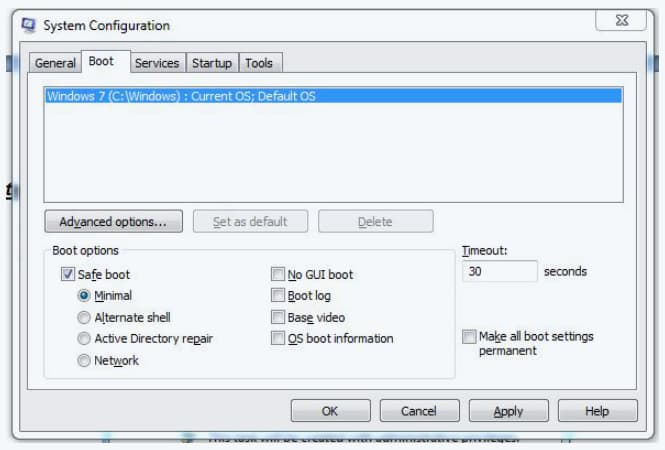
First open the run command by pressing Windows+r keys. Now type "msconfig" and hit enter. The System Configuration box will be opened next. Select the Boot tab and find the Boot options. Check the safe boot box, click on Apply, and hit OK.
Step 2: Reboot your PC in Safe Mode
Another System Configuration box will be opened asking you to restart or exit without restart. Hit Restart and your PC will start rebooting in safe mode.
If your PC starts fine in Safe mode, then this means that your Windows OS has no issues causing kernel security check failure.
You can again open the System Configuration, uncheck the safe boot box, hit Apply, and then hit OK. It will again ask to restart. After restarting your PC, it will be opened in normal mode again.
Method#4: Use System Restore to Restore System to a Restore Point
If all the above three methods fail to resolve the issue, you can try the system restore tool. This method can fix system issues by helping you restore your PC to an earlier state.
You need to choose a restore point to take your PC to an old state where the kernel security check failure error was not there.
Please note that while restoring system to a restore point might cause some data loss. You're supposed to use QILING Disk Master to back up important files before doing the task or recover lost files with Deep Data Recovery after the restoration.
Here is a step-by-step guide to use System Restore Tool to fix this bug check:
Step 1: Open System Restore and Enable the protection
If you are a Windows 10 user, you will need to turn on the protection, as System Restore is disabled in Windows 10 by default.
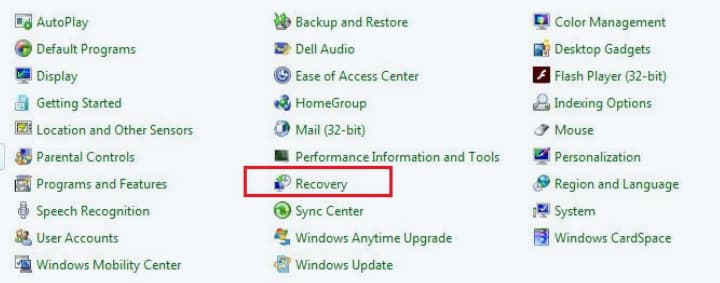
Open the Control Panel by pressing the Windows key and select the Control Panel option.
Choose View by Small icons, find the recovery option, and click on it.
Click on the Configure System Restore option.
Next, you will be asked to choose your system drive. Select C drive (choose another drive if C is not your system drive).
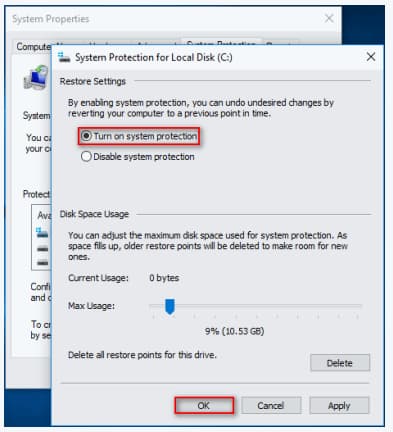
Click on the Configure button and select the Turn on system protection option. Click OK to close the box with your selection.
Step 2: Create a System Restore Point
Press the Windows key, type creates a restore point in the search box, and hit enter. You will see a System properties box opened.
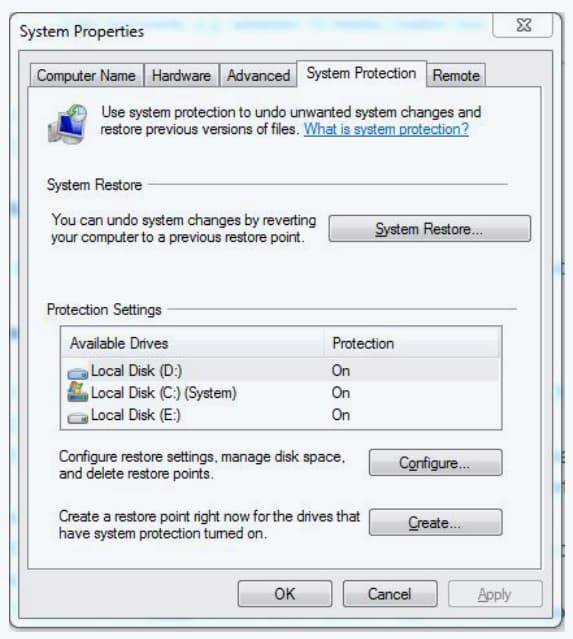
Now click on the Create button. Type a name in the box to create a restore point. The process of creating a restore point will start and it will take a short time to complete.
After the restore point is created, click the Close button and then click Ok to close the system protection box.
Now you can restore your system to the previous state if you get the kernel security check failure error anytime in the future.
If all the above mentioned 4 ways can't solve the problem of error windows 8 kernel security check failure, you must factory reset your computer or totally reinstall the Windows 8, Windows 10 or Windows 7operating system. During the process, if any files lost( files on desktop, in Documents, Pictures, Favorites, Download folders are very likely lost), try Deep Data Recovery to recover them. Here are the steps.
Step 1. Click the download and install the data recovery software on your computer. Launch it on your computer. Keep or deselect the unwanted file types in the first window and click "Next".

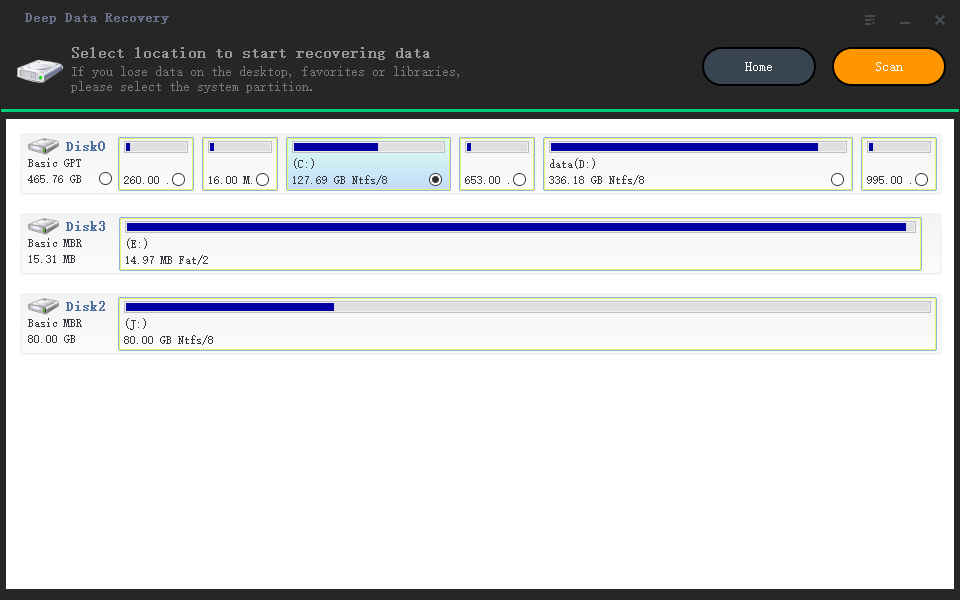
Step2. Next, select the hard drive where you have lost files. If the lost files were saved on the desktop, Documents, Pictures, or Download folder, then you should select drive C. Click "Scan" to recover deleted files in Windows 10 or other OS.
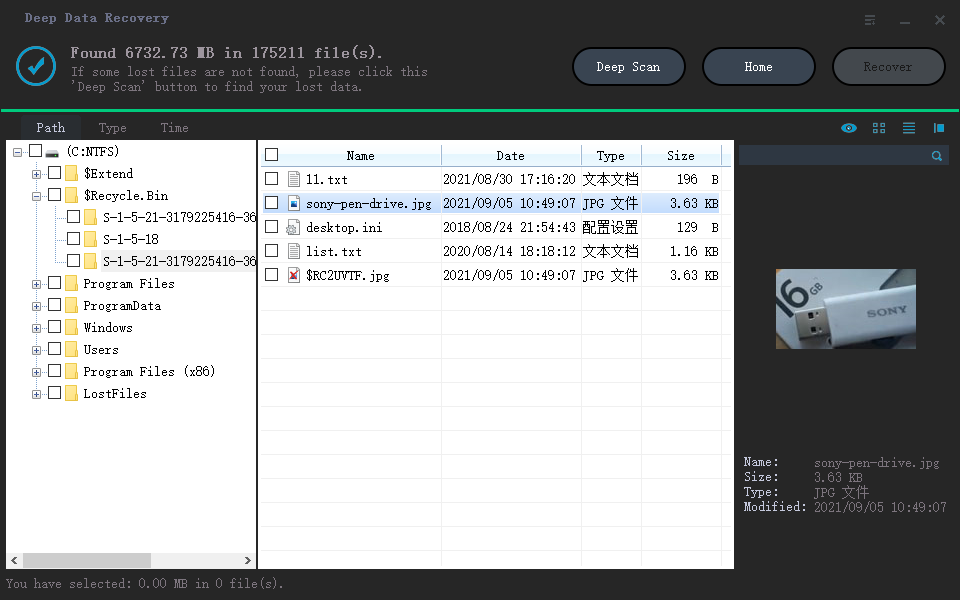
Step3. Wait for the scanning process to finish. After then, you can see all the found files. You can filter file types in the left panel and check out the details on the right side. When finding the target files, select them and click "Recover" to save them. If some files still missing, click the "Deep Scan" mode to scanning more files.
Related Articles
- How to remove write protection from USB in Windows
- How to Recover Photos from Kodak SD Card
- How to Fix SSD Not Showing up in Windows 10/8/7