CMD File Recovery - Recover Deleted Files Using Command Prompt
How to recover deleted files from USB using CMD?
"Last night, when I connected my USB flash drive (Kingston 64G) to my computer to work on my unfinished Word document, but to my surprise, there was nothing found. I might mistakenly delete the Word file without any backup. Someone told me that I should try command line which may help me to recover the deleted files easily. The problem is that I know nothing about CMD! So can you tell me how to recover deleted files from USB flash drive using Command Prompt?"
Command Prompt, or also known as Command Line/CMD, is available in most Windows operating systems. It can execute entered commands to perform advanced administrative functions, and troubleshoot or resolve certain kinds of Windows issues. The CMD serves as a free Windows built-in tool for helping users recover lost files, repair bad sectors on storage devices or even convert file system from RAW to NTFS, etc. for free. And on this page, we will focus on how to recover files using command prompt
How to Recover Files from USB Flash Drive Using Command Prompt
The most popular command prompt is the attrib line. With this command, you can recover lost and hidden files from USB flash drive, hard drive, SD card, or other external hard drives due to mistaken settings, or virus attack (see how to recover files from shortcut virus).
- Tip
- This command prompt only allows you to recover files from USB flash drive if they are hidden instead of deleted. If your files are permanently deleted, the CMD won't be helpful, and you need to use data recovery software as CMD alternative.
1. Press Win + R keys and type: cmd, hit Enter to open Command Prompt window as an administrator.
2. Type: chkdsk E: /f and hit Enter. (Replace E with the drive letter of the device where you lost files or data)
3. Type: Y and hit Enter to continue.
4. Type: G: and hit Enter again. (Replace E with the drive letter of the device where you lost files or data)
5. Type: attrib -h -r -s G:\*.* /s /d and hit Enter. (Replace G with the drive letter of the device where you lost files or data)
Manual execution of the command line is suitable for computer professionals, since incorrect commands can do more harm than good. Therefore, for security and usability, we strongly recommend you try an automatic command line alternative - Qiling CleanGenius. It is a practical tool that enables you to check and fix file system errors, enable/disable write protection and update your system with one-click instead of typing intricate command lines.
Follow the simple steps below to show hidden files with this 1-click-fix software.
Step 1. DOWNLOAD Qiling CleanGenius for Free.
Step 2. Start Qiling CleanGenius, choose "Optimization" on the left panel. Next, click "File Showing" on the right panel.
Step 3. Select the hard drive and click "Execute".
Step 4. After the operation completes, click the here link to check the hidden files.
Refresh your device after the process; then your lost files will appear on an SD card, USB drive, or hard drive. If the CMD fails to recover your lost file, or if you need to recover deleted files from a USB flash drive or other storage devices, move to the next part and let Qiling Data Recover Wizard help you out.
How to Recover Lost/Deleted Files with a CMD Alternative
Deep Data Recovery is the best CMD alternative to recover lost files due to accidental deletion, formatting, virus attack, file system crash, OS corruption, lost partition, or other complex circumstances. With this ultimate data recovery tool, you can recover deleted files from SD card, external hard drives, USB flash drives, pen drives, HDD, SSD, etc.
If your lost data is much more than 2GB, you can upgrade it to Qiling Data Recovery Pro version so to gain unlimited data recovery capacity. Download and install it on your Windows 10/8/7 and then follow the steps below to recover deleted files from USB flash drive.
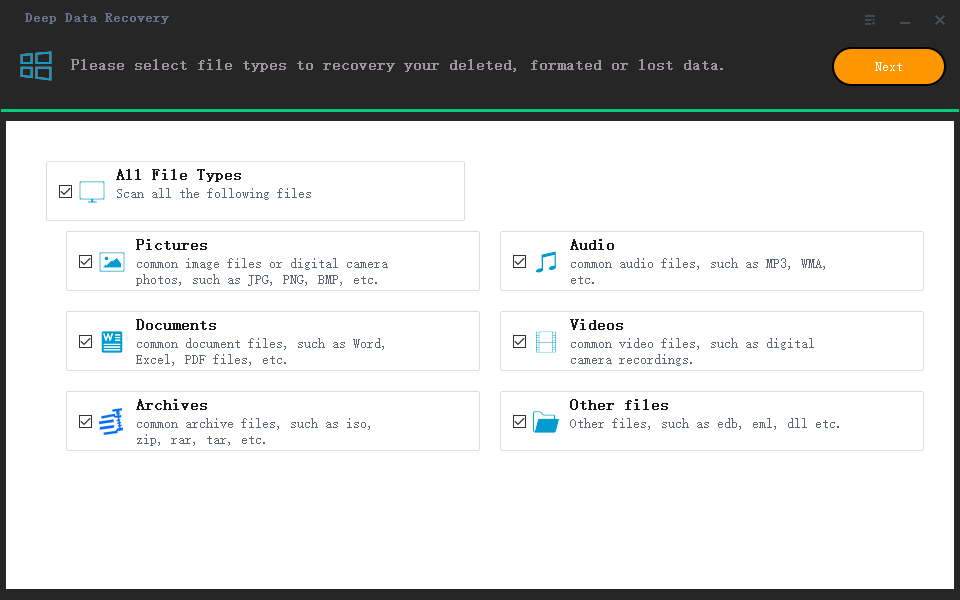
Step 1. Select file types and click "Next" to start
Launch Deep Data Recovery. Select file types and click "Next" to start.
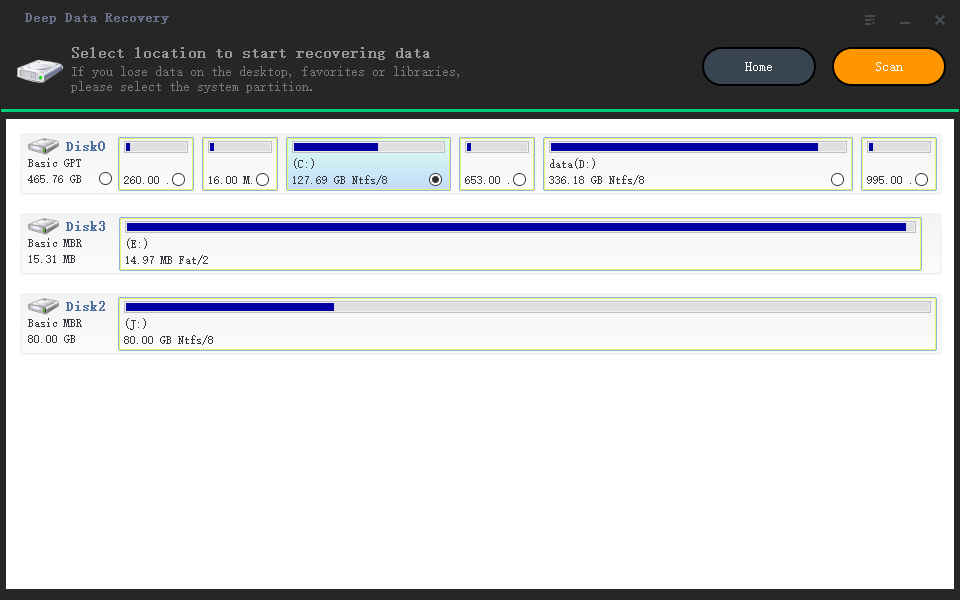
Step 2. Select a location and start scanning
Hover on the partition/drive where the deleted files were stored. Click "Scan" to find lost files.
Step 3. Select the files you want to recover
When the scanning has finished, select the deleted files you want to recover. You can click on the filter to display only the file types you want. If you remember the file name, you can also search in the "Search files or folders" box, which is the fastest way to find the target file.
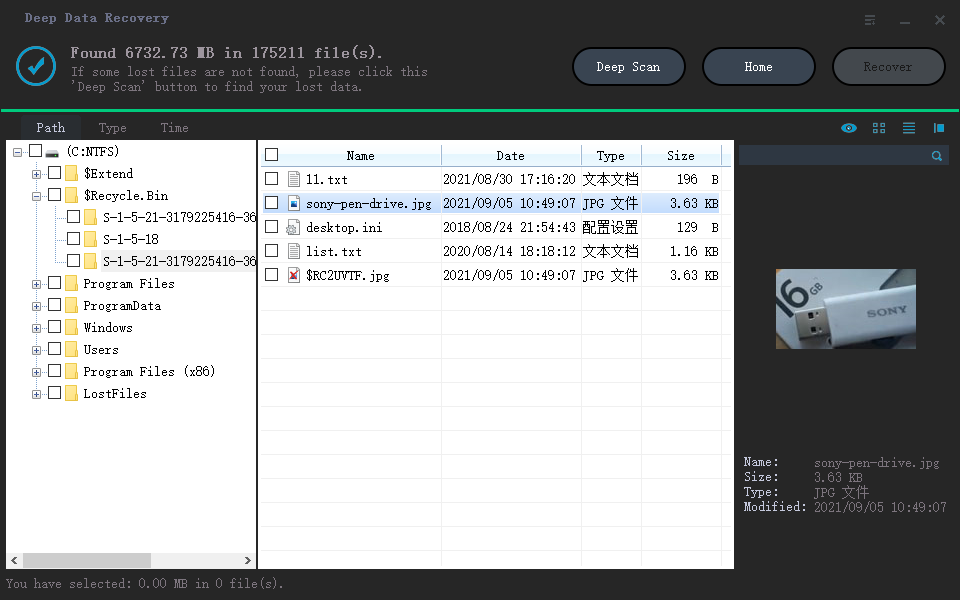
Step 4. Preview and recover deleted files
Preview the recoverable files. Then, select files you want to restore and click "Recover" to store the files at a new storage locations instead of the disk where the data was previously lost.
Related Articles
- Top 11 Best Photo Repair Software for PC/Mac
- How to Recover Permanently Deleted Files in Linux Redhat/Ubuntu/Mint
- How to Remove Password from Excel with or Without Password
- Microsoft Word Has Encountered a Problem and Needs to Close