How to Recover Files Lost While Moving
"Just one hour ago, I lost some files while moving them from my SD card to the computer. I used the Ctrl X and Ctrl V. But during the process, I experienced a sudden power off. After reboot, these files didn't show up on the SD card, or on the PC. Any advice to recover moved files in Windows 10?"
File Lost During Moving
Data transfer from one device to another or from a folder to another is a common and easy operation. The simplest way is using Ctrl + C and Ctrl + V or Ctrl + X and Ctrl +V. However, But In the actual operation process, data loss might happen if any interruption occurs. Here are some typical causes that may disrupt your transferring and cause data loss.
- A sudden power failure
- A system crash
- Abrupt removal of a removable storage device
- An alarming window pops up with an error message
Can Moved Files Be Recovered
Whenever you lose files in cut and paste or copy and paste while transferring files, you can easily recover moved files with methods provided below.
Method 1. Cancel the File Transfer with Ctrl + Z
This method only works when an interruption stops your transferring process, and the computer doesn't shut down.
- Close the disruption and cancel the files moving by pressing Ctrl + Z keys to undo the copy and paste or cut and paste.
- Check whether your files go back to the original location or not.
If this method doesn't work for you, don't worry. Professional data recovery software provided below can help you out with ease
Method 2. Recover Moved Files with Qiling File Recovery Software
If you want to know how to recover cut files, or how to recover lost files due to careless deletion, hard drive formatting, virus attack, or lost/RAW partition, you can use Qiling hard drive recovery software to help you. With this tool, you can recover 200+ data types without effort, including photos, audios, videos, documents, emails, as well as other files.
Now, download this file recovery software and follow the step-by-step guides to recover moved files within three steps.
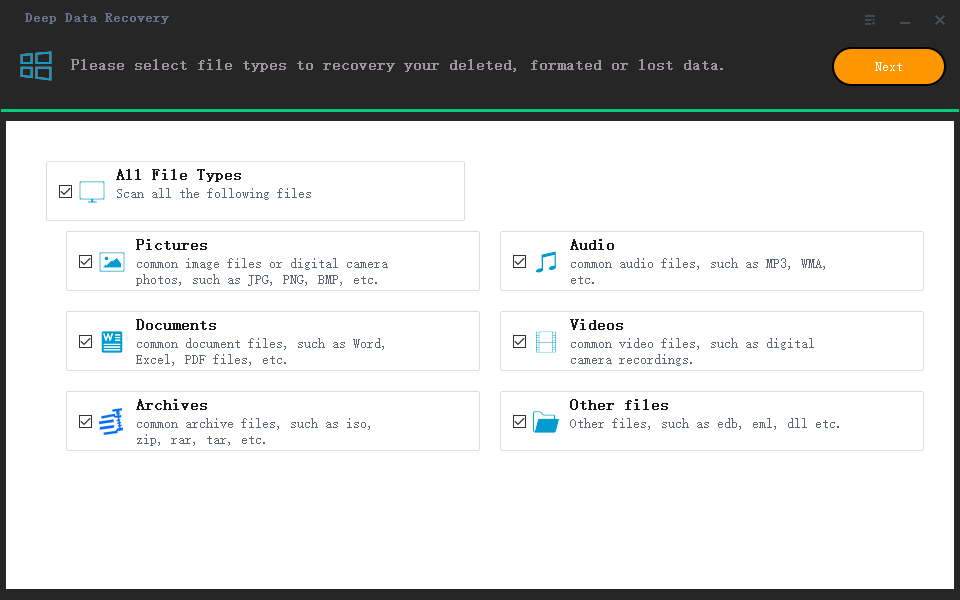
Step 1. Select file types and click "Next" to start
Launch Deep Data Recovery software. Select file types and click "Next" to start.
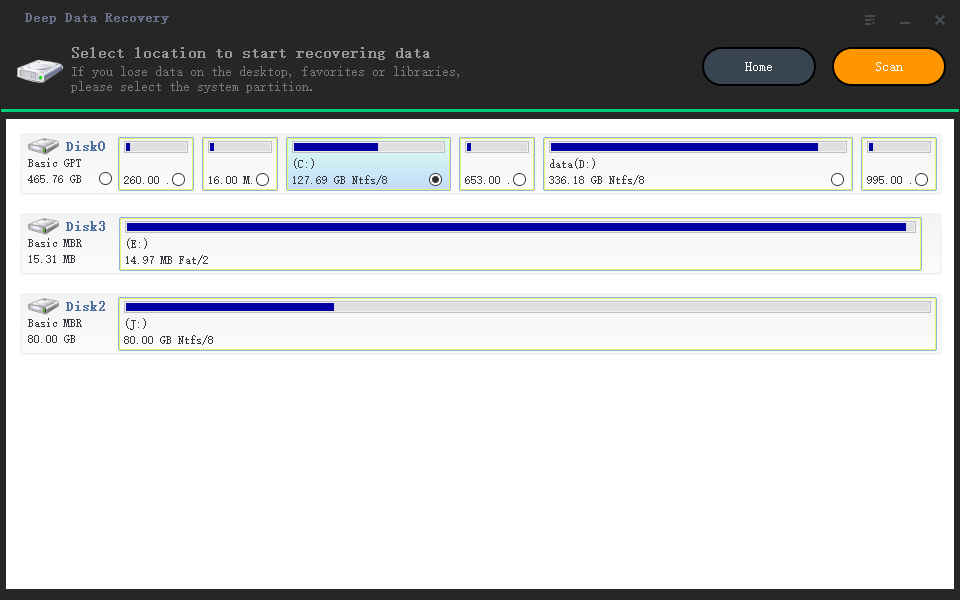
Step 2. Select a drive and start scanning
Hover over the partition where you lost data. This could be an internal hard disk, external disk, USB, or SD card. Then, click "Scan".
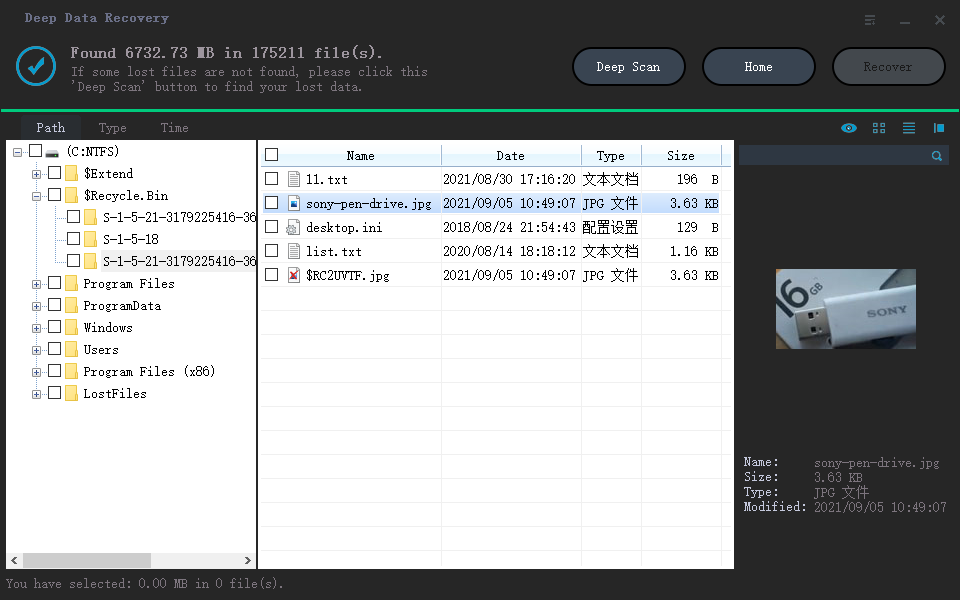
Step 3. Check and preview scanned files
Use the file format filter on the left or upper right corner to narrow the scan results until you find the files you need. Then, you can click the "Preview" button or double-click a file to preview its content, if you'd like.
Step 4. Recover lost data to a secure location
Click the checkbox next to the file and click "Recover" to restore the lost data to a secure place. We recommend that you do not store the recovered data on the disk where you lost it earlier.
Final Words
In order to avoid accidental data loss, please keep these tips in your mind.
- Keep the habit of backing up files/folders to the external hard drive.
- Use Copy and Paste rather than Cut and Paste if you want to move data to a new device or a new location.
- Don't do anything to your device once you lose data there and apply Qiling file recovery software for an immediate rescue.
Related Articles
- How to Recover Overwritten Files in Windows 10/8/7 Easily
- Photoshop File Corrupted: How to Repair PSD File Without Any Effort
- How to Recover Unsaved/Lost Excel File 2016/2013/2010/2007
- 2 Ways to Recover Deleted or Lost Saved Game Files on Xbox One