How Fix Not Able to Launch Sticky Notes Error
How to Fix Sticky Notes Has Failed to Initialize Error/ Not Opening
"I received an error message that 'Not able to launch Sticky Notes with the accessing files (Quit)' and I cannot open Sticky Notes in Windows 10. How can I fix this error and get lost Sticky Notes back?"
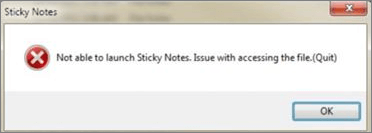
If you are having a Sticky Notes startup failure problem with the "Not able to launch Sticky Notes with the accessing files (Quit)" error message on your PC or delete important Sticky Notes in Windows, relax. Here below, we have found relative solutions for you to fix the Sticky Notes failure error and restore lost Sticky Notes in Windows 10/8/7 with ease.
| Workable Solutions | Step-by-step Troubleshooting |
|---|---|
| Fix 1. Run CMD to Fix Sticky Notes | Type cmd in the search bar. Right-click Command Prompt and select...Full steps |
| Fix 2. Repair Sticky Notes | Press Windows key+I to open the Settings window. Click on "Apps"...Full steps |
| Fix 3. Reset Sticky Notes | In the Settings window, click on "Apps & features" on the left pane of Settings...Full steps |
Recover Lost Windows 10/11 Sticky Notes (First Step)
If you happen to delete desktop Sticky Notes in Windows 10, relax, you can get it back from the Sticky Notes folder (please have a backup of sticky notes before doing this).
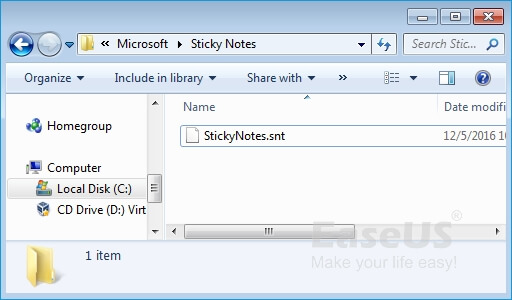
- Open the File Explorer and copy: %AppData%\Microsoft\Sticky Notes\StickyNotes.snt in the address bar;
- Find and open StickyNotes.snt file with Notepad, Microsoft Word, or Wordpad;
- View and find lost notes in the .snt file, copy the exact notes that you lost, and paste them to a new Sticky Notes so to recover it then.
If you fail to find StickyNotes.snt file in the folder, you may try file recovery software offered by Qiling to find and restore the deleted or lost Sticky Notes back in Windows 10. Other Windows system users can also apply this software to recover lost Sticky Notes.
Deep Data Recovery
- Recover lost or deleted files, documents, photos, audio, music, emails effectively.
- Recover files from SD card, emptied recycle bin, memory card, flash drive, digital camera, and camcorders.
- Support data recovery for sudden deletion, formatting, hard drive corruption, virus attack, system crash under different situations.
Free download Deep Data Recovery and follow the steps below to restore all lost Sticky Notes in Windows 10 now:
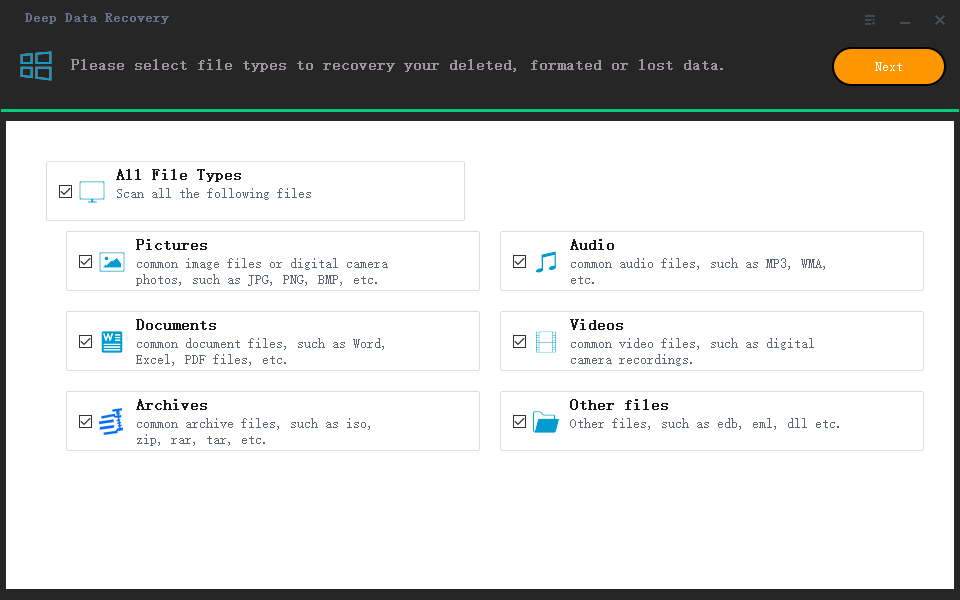
Step 1. Select file types and click "Next" to start
Launch Qiling file recovery software on your Windows computer. Select file types and click "Next" to start.
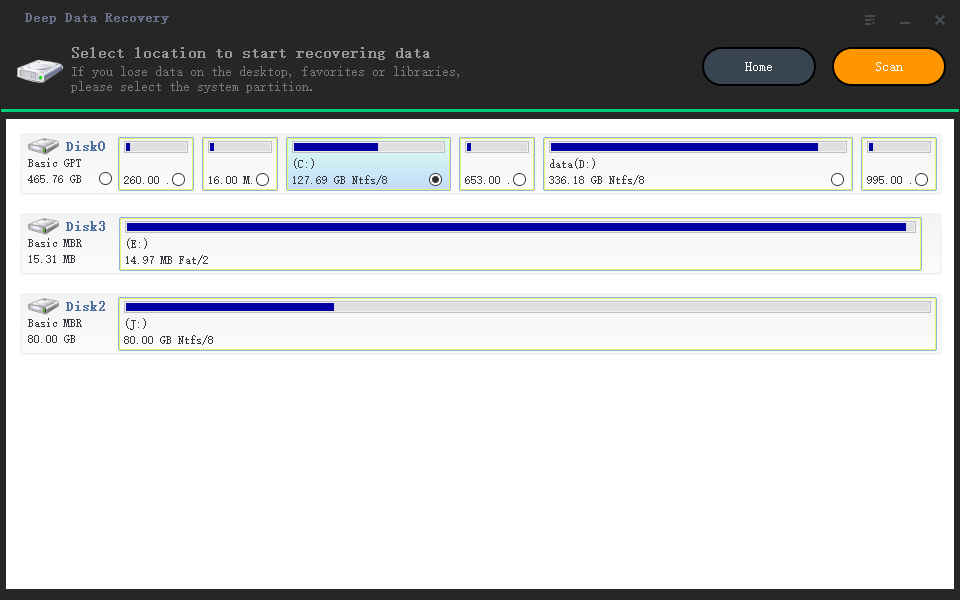
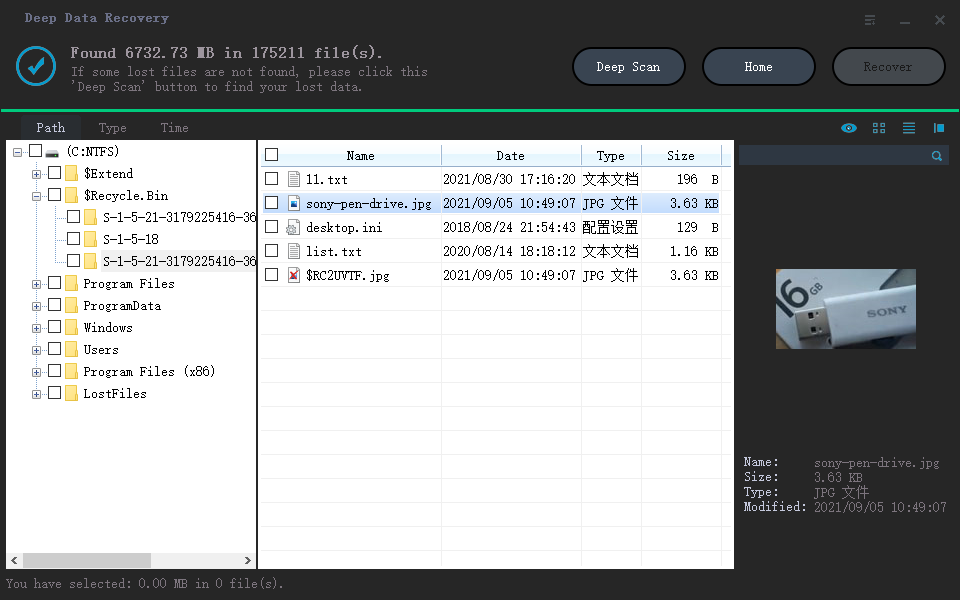
Step 2. Select a drive and start scanning
Hover over the partition where you lost data. This could be an internal hard disk, external disk, USB, or SD card. Then, click "Scan".
Step 3. Check and preview scanned files
Use the file format filter on the left or upper right corner to narrow the scan results until you find the files you need. Then, you can click the "Preview" button or double-click a file to preview its content, if you'd like.
Step 4. Recover lost data to a secure location
Click the checkbox next to the file and click "Recover" to restore the lost data to a secure place. We recommend that you do not store the recovered data on the disk where you lost it earlier.
After you have recovered Sticky Notes from your computer, you can fix the "Not able to launch Sticky Notes with the accessing files (Quit)" error with the solutions below.
Fix 1. Run CMD to Fix Can't Open Sticky Notes in Windows 10
If you can't launch Sticky Notes (Start > Sticky Notes) even after restart your PC. You can also try this method to fix Sticky Notes not opening.
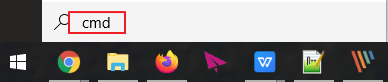
Step 1. Type cmd in the search.
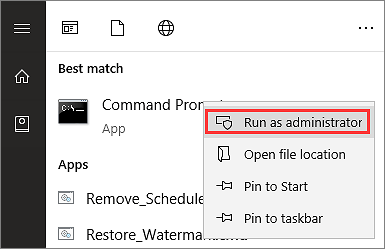
Step 2. Right-click Command Prompt and select "Run as Administrator".
Step 3. Type sfc /scannow and hit "Enter".
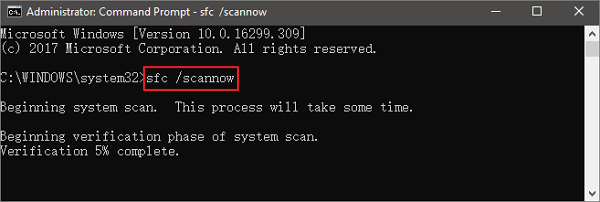
Wait patiently to check the system file and fix the Sticky Notes error in Windows 10.
Fix 2. Repair Sticky Notes with Windows 10/11 Built-in Tool
Windows 10 has a built-in tool that can repair application errors with simple steps. If you are faced with a Sticky Notes error, you can try this method.
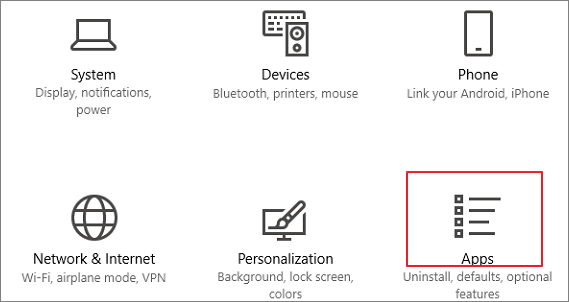
Step 1. Press Windows key+I to open the Settings window. Click on "Apps".
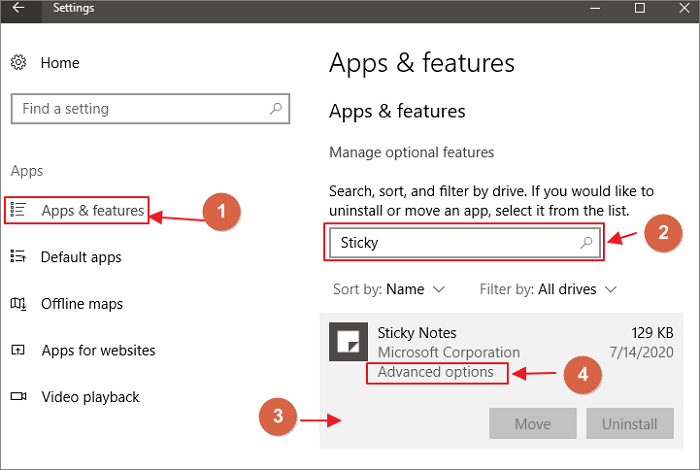
Step 2. In the Settings window, click on "Apps & features" on the left pane of Settings.
Step 3. Now, scroll down through the right side of the Settings window, type "Sticky Notes" in the search box.
Sticky Notes will appear in the search result.
Step 4. Click on "Sticky Notes" to select it and then click on "Advanced options".
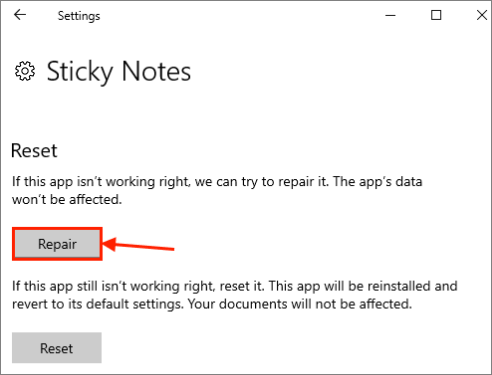
Step 5. In the Sticky Notes settings window, scroll down and then click "Repair" to repair Sticky Notes.
Fix 3. Reset Sticky Notes to Fix Sticky Notes Error
If Method 2 doesn't work, you can reset Sticky Notes to get help. Resetting will remove all the data from Sticky Notes. If there is anything important, make sure to back it up somewhere safe.
Step 1. Press Windows key+I to open the Settings window. Click on "Apps".
Step 2. In the Settings window, click on "Apps & features" on the left pane of Settings.
Step 3. Now, scroll down through the right side of the Settings window, type "Sticky Notes" in the search box.
Step 4. Click on "Sticky Notes" to select it and then click on "Advanced options".
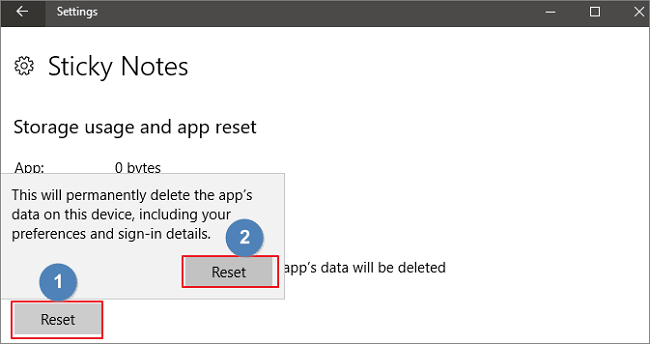
Step 5. In the Sticky Notes settings window, scroll down and then click "Reset" to reset Sticky Notes on your computer.
Extra Tips: Back Up and Restore Sticky Notes
You can make a backup of your Sticky Notes to avoid Sticky Notes data loss. You can easily use Qiling backup and recovery software to browse and locate the Sticky Notes, then select to back them up with the following steps:
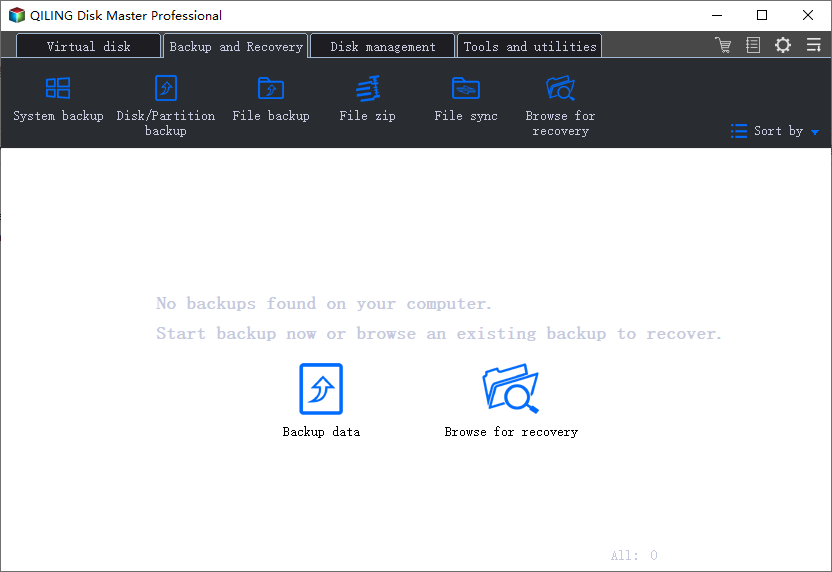
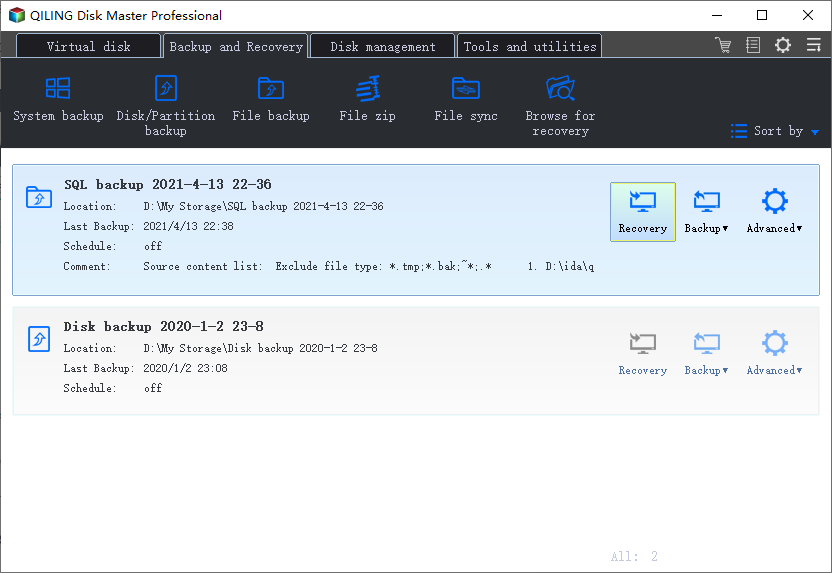
Step 1. Click the "File backup" button in "Backup and recovery" page to start backup.
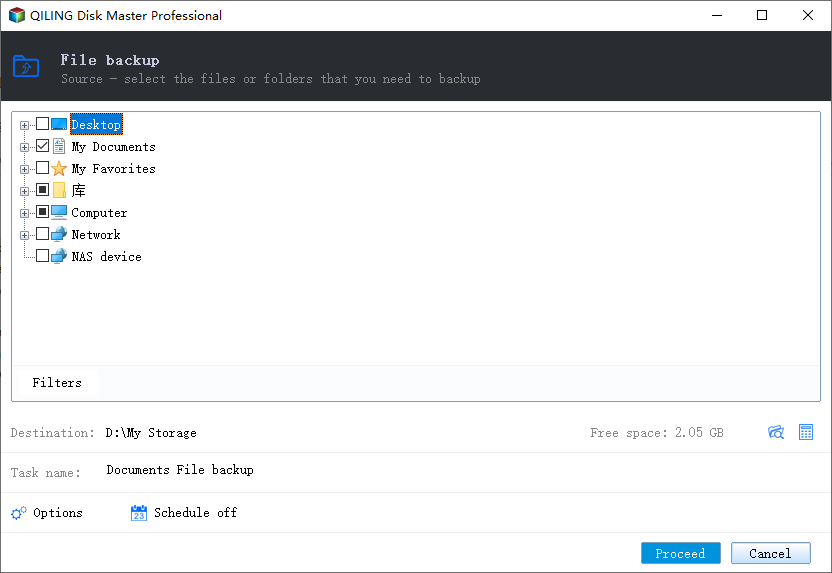
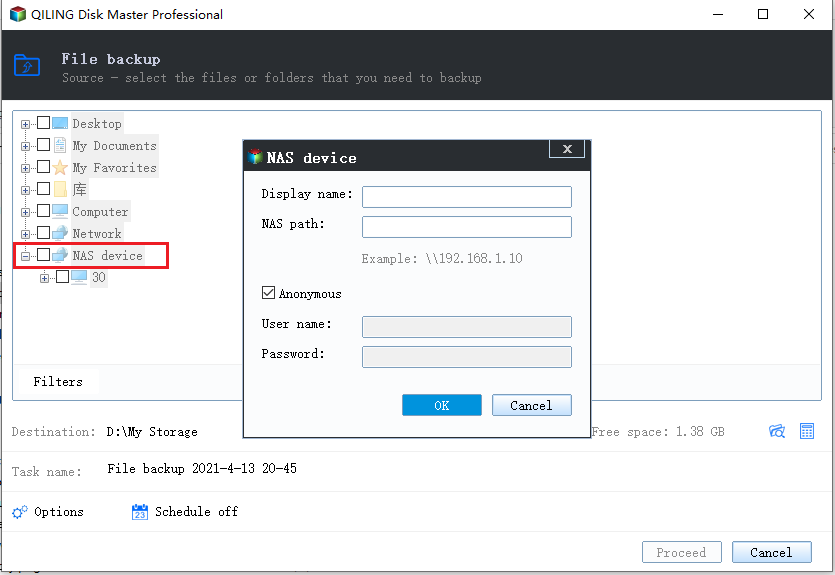
Step 2. Both local and network files will be listed on the left. You can expand the directory to select the files to be backed up.
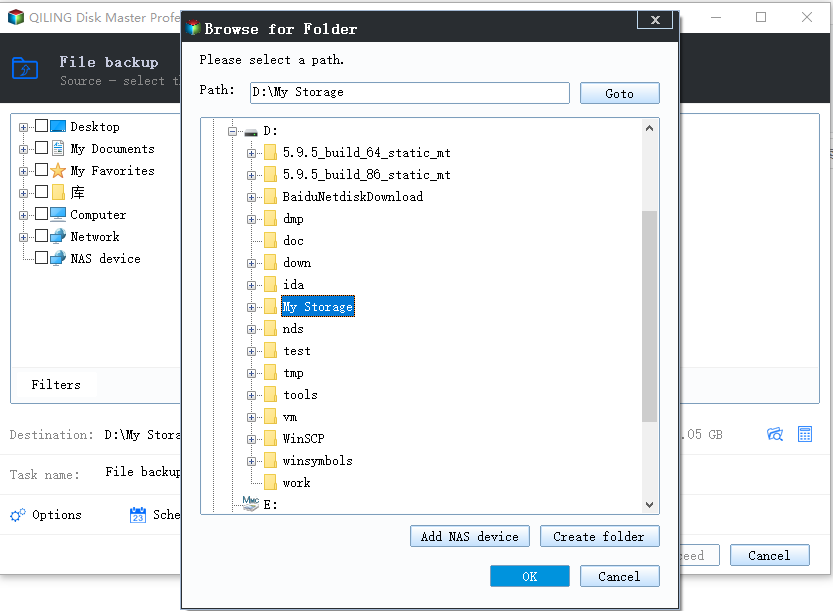
Step 3. Follow the on-screen guide, select the destination where you want to save the backup.
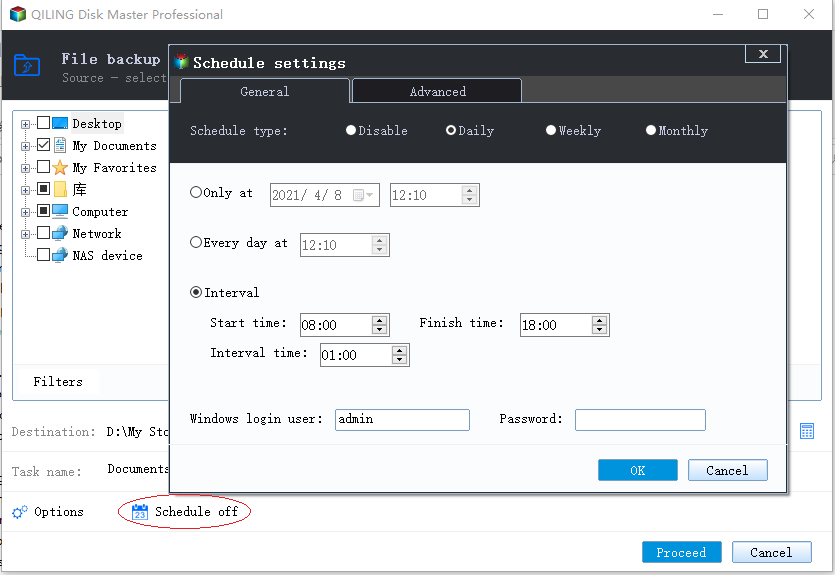
Step 4. Click "Options" to encrypt the backup with password in "Backup Options". There are also many other options you can explore, customize the backup task according to your need.
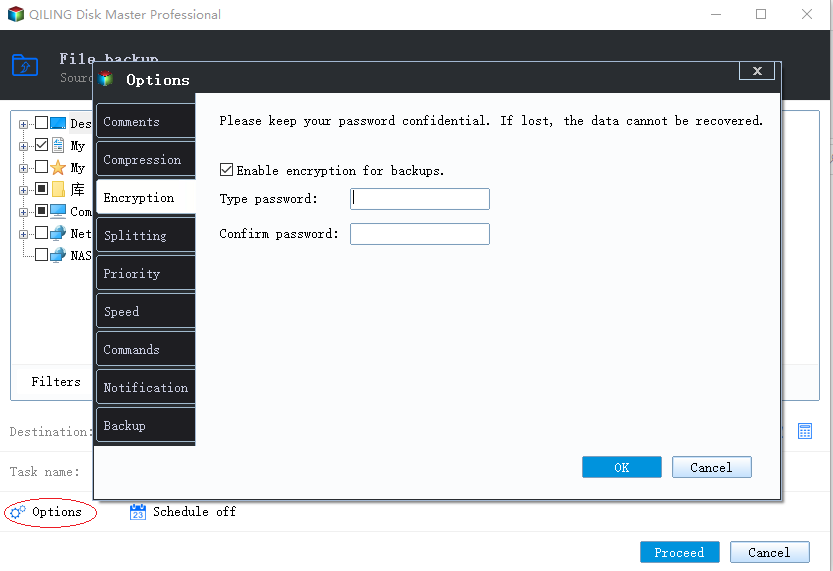
Set the backup schedule and choose to start back up at certain event in "Backup Scheme"
Step 5. You can store the backup to local drive, Qiling's cloud service, and NAS.
Step 6. Click "Proceed" to start backup. After the backup task is completed, it will be displayed in the form of a card on the left side of the panel. Right-click the backup task to further manage it.
Conclusion
Whenever you are faced with a Sticky Notes error, you can try these solutions above. Remember, recover data before you take action. Deep Data Recovery can not only recover lost Sticky Notes but also restore deleted photos, videos, Word documents, and more.
Related Articles
- Downloads Not Showing up in Download Folder/Desktop
- Fixed: Windows 10 Freezes While Copying Files, No Data Loss
- How to Fix Runtime Error 1004 in Excel
- GIF Repair | How to Repair Corrupted GIF Files