4 Ways to Fix Windows Update Stuck at 0%
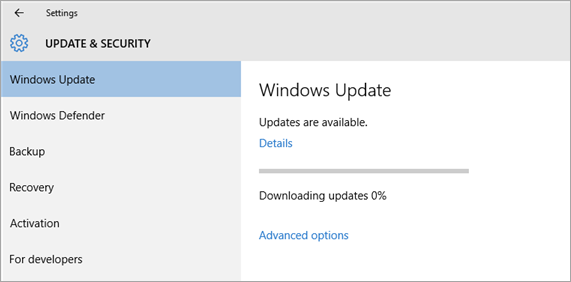
"Yesterday I decided to update my computer to Windows 21H1. Then I started to download the update. At first, it says 'Working on updates 0%. Don't turn off the computer. This takes a while.' So I waited, thought the downloading will be finished in half an hour. But when I checked the downloading status, it was still 0% and asked me don't turn off the computer. Please, anyone can tell me how to solve this problem?"
-- A user from Reddit
If you have encountered the same problem as that user described, reading this article will be the right choice. There are four methods you can try.
Method 1. Check Computer Battery
Windows update requires your computer battery is charged at least 40%. Please check if your computer has sufficient charge first when you meet the problem. If your computer's battery is low, this may be the reason your Windows update download is stuck.
Another scenario is you see the Windows Update error 8024004C, which means you need to remove and reinstall the battery driver. Please follow these steps:
Step 1. Plugin your Surface.
Step 2. Enter Device Manager in the search bar, click the best match.
Step 3. Unfold the Battery category.
Step 4. Double-click Microsoft ACPI-Compliant Control Method Battery, find the Driver tab, select Uninstall, and click OK.
Step 5. Restart your computer, it will automatically reinstall the driver.
Now you can check if the Windows Update error still exists.
Method 2. Restart Your Computer
Sometimes the Windows update stuck at 0% problem can be easily fixed by a simple restart. It is because a reboot would fix some minor hardware issues. Your computer stops downloading Windows updates might due to these hardware issues. So restart your computer, and see if the problem is solved.
Method 3. Run Windows Update Troubleshooter
Windows has a built-in automatic update troubleshooter which can fix some common Windows update problems. So another method you can try is to apply Windows built-in Update Troubleshooter. Here are the steps you should follow:
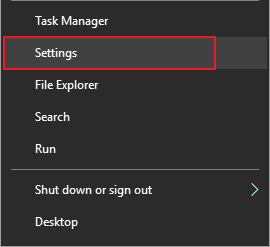
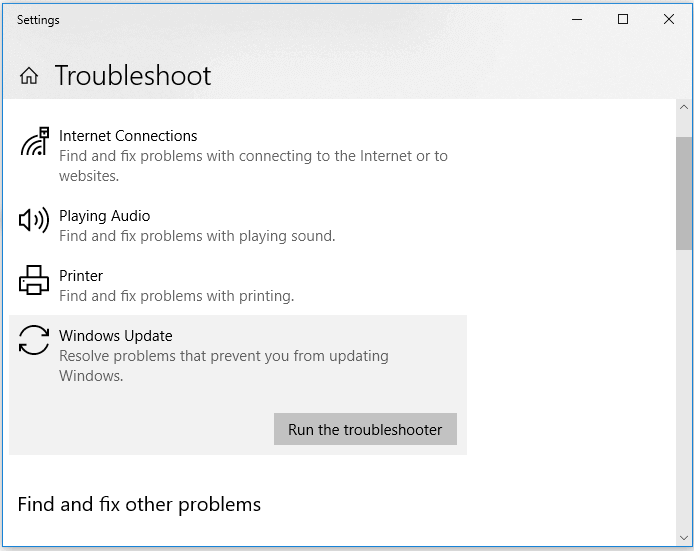
Step 1. Right-click on the Windows icon, choose Settings.
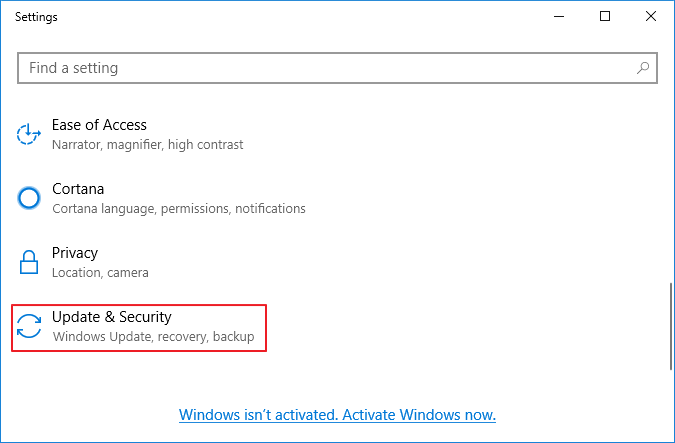
Step 2. Find Update & Security, click to enter.
Step 3. Select Troubleshoot and find Windows Update under the Get up and running option.
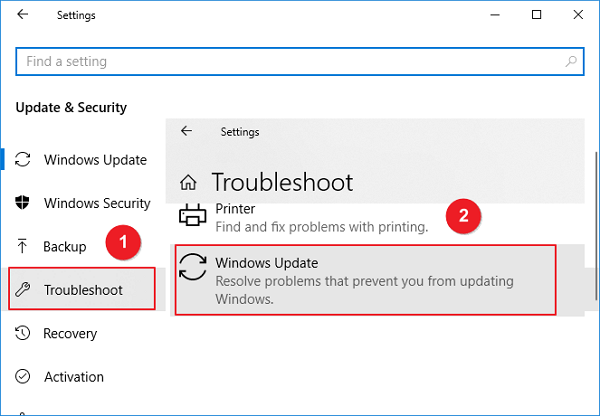
Step 4. Click Run the troubleshooter, Windows will start to fix the update problems.
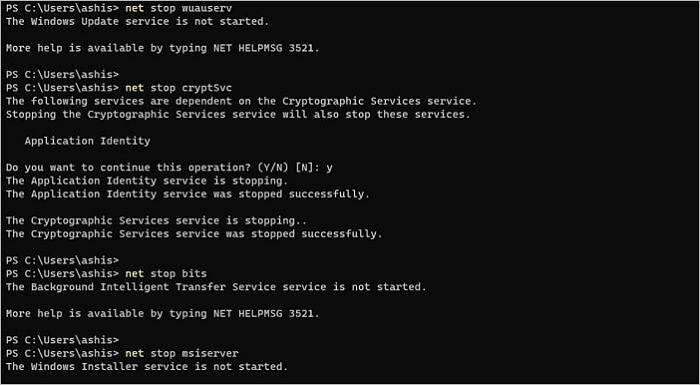
Method 4. Stop Windows Update Service
This method has been verified by users on many Windows-related forums. Restarting the Windows Update service may help you refresh the Windows Update download process. If the above methods are all failed, this might be your last resort. Here's what you should do.
Step 1. Press Windows + R keys at the same time. Then type service.msc.
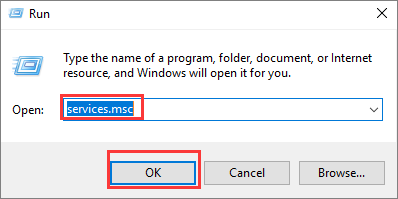
Step 2. It will show you all the services installed on Windows. Find Windows Update service in the list, right-click on it and choose Stop.
Step 3. Then go to C:\Windows\SoftwareDistribution and delete all of its contents. All the downloaded installation files were stored in this folder.
Step 4. Open service again (as explained in Step 1), and find Windows Update service, click Start this time.
Step 5. Now you can try to update Windows again. It should be working this time.
How to Get, View, Remove Windows 10 Update?
How to get Windows 10 update, view the update history, or remove unwanted update? This page includes all the answers that you'll need.

Bonus Tip: How to Recover Data that Lost After Windows Update
Performing Windows Update will not only cause the problem of stuck downloading of updated files but could also cause data loss after the update process is finished. In the above parts, we've already given you solutions about the first scenario, now we would like to show you how to recover your data lost in the second scenario.
Deep Data Recovery is the tool we'd like to recommend you to use. It is specialized in data recovery since 2004. It covers almost all the data loss scenarios, like accidental deletion, formatting, system update, OS crash, and virus attack, etc. It can dig deep into your computer, and find all the lost data you need.
You can download Deep Data Recovery from the button below, and follow the steps to see how to recover lost data with this tool.
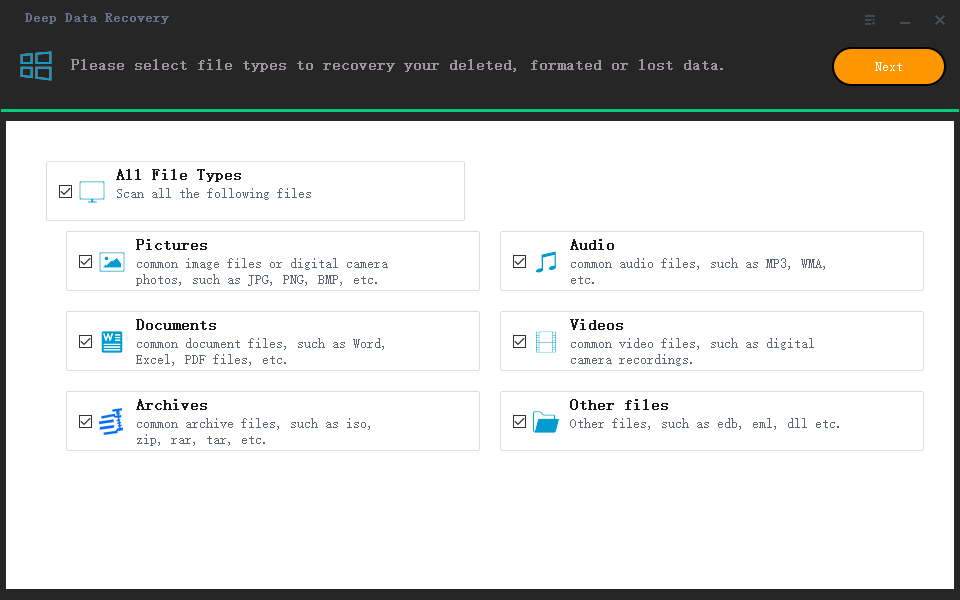
Step 1. Select file types to start
Launch Deep Data Recovery and choose file types. Then, click "Next".
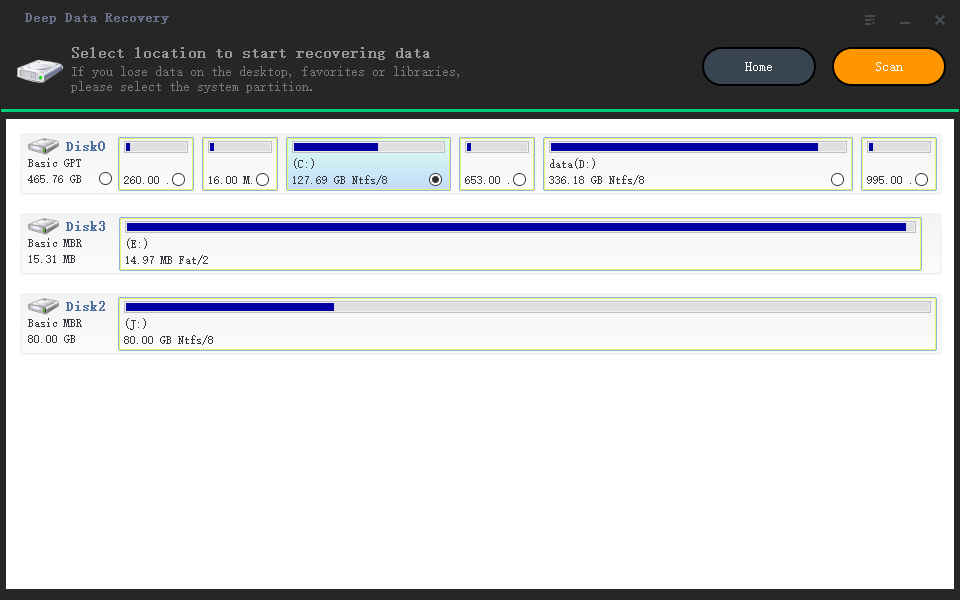
Step 2. Select a location and start scanning
Launch Deep Data Recovery and choose the partition where you lost data. Then, click "Scan".
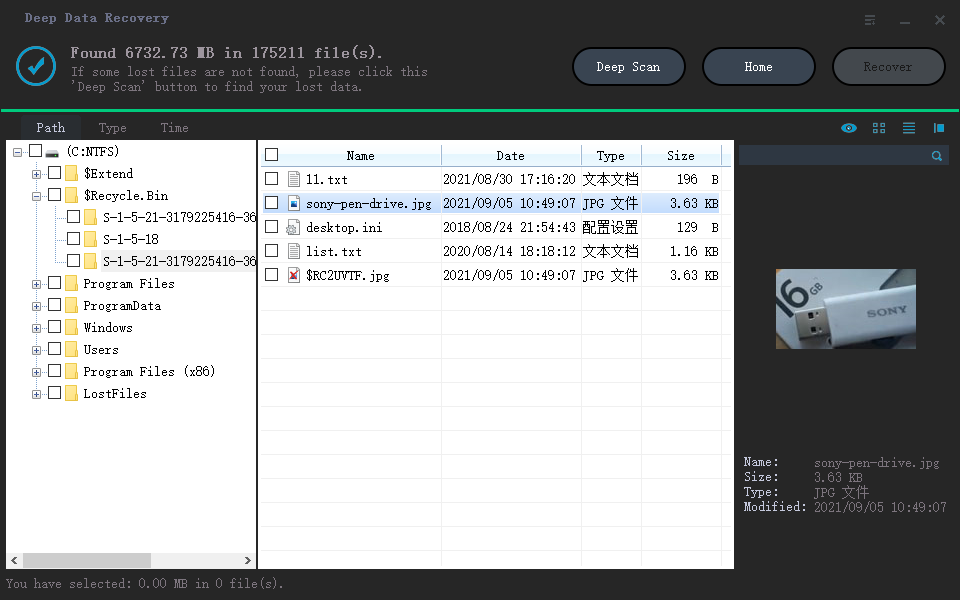
Step 3. Filter and preview files
Use the file format filter on the left or upper right corner to find the files you need. Then, you can click the "Preview" button or double-click a file to preview its content.
Step 4. Recover lost data or files
Click the checkbox next to the file and click "Recover" to restore the lost data to a secure place.
Act Now to Fix Windows Update Stuck at 0%
In this article, we have introduced 4 efficient methods for you to fix Windows Update stuck at 0%, these methods also work for Windows Update at 20% or 70%. Hope you can solve your problem after reading this article.
Or if you are interested in how can Deep Data Recovery performs data recovery, you can download this software and have a free trial!
Related Articles
- Lexar USB Flash Drive Format & Repair Tool Free Download
- OneDrive Recycle Bin Retention | Recover Deleted Files in OneDrive
- (3 Ways) How to Recover Deleted Photos from Computer/External Hard Drive
- How to Recover Uninstalled Programs on Windows 10 and Windows 11